
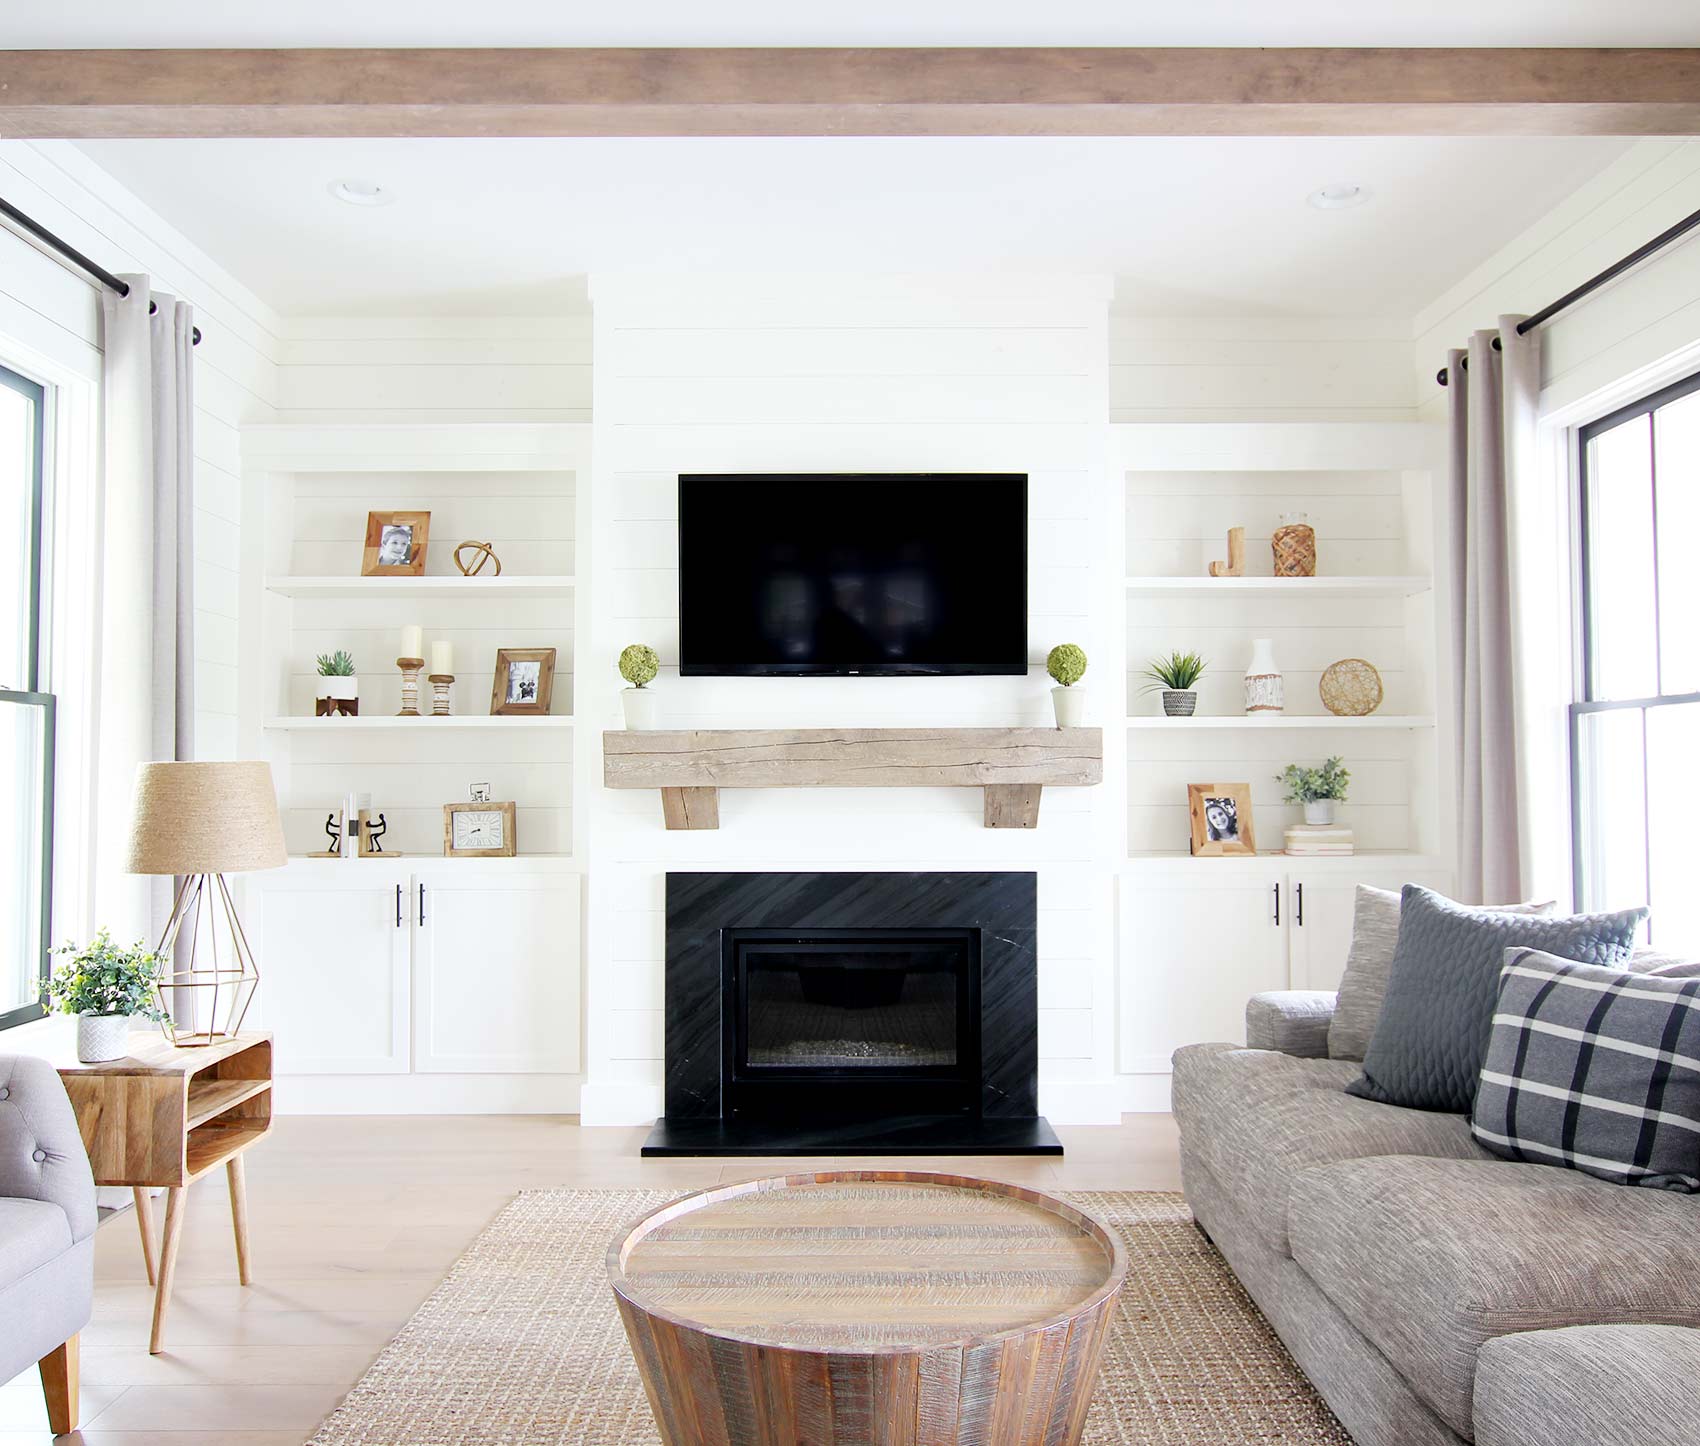
Our mantel above the fireplace in our family room up until now has been a piece of oak that wasn’t quite thick enough. It’s been more or less a place holder. The plan from the beginning was to install a reclaimed timber mantel. But, like so many other things, when you are trying to finish a house to move into, you run out of time. You can read about one of these “other things” in our How to install floating shelves article.
Now that I’ve finally gotten around to installing that reclaimed timber mantel. I can show you how I did it.
The first thing I had to do was find a reclaimed timber. I contacted one of my friends who has an old barn, but unfortunately he already given away all of the good stuff. Since I didn’t know any other people with old barns, I went to a local place that sales reclaimed barn wood and timbers. They had a ton of stuff, and to be honest, it was a bit overwhelming. After searching for about thirty minutes, I found a piece that would work perfectly.
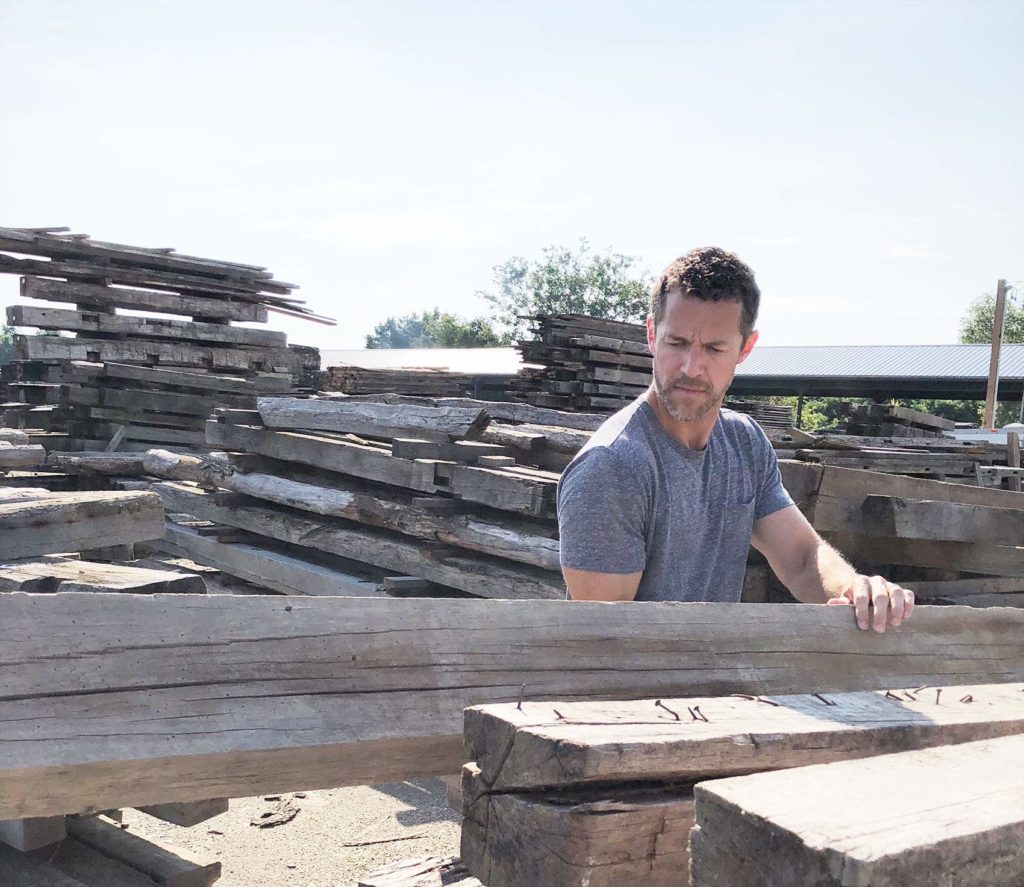
They cut it to length and wire brushed it to take off the rough places and make it a little smoother. They offered to sand it, but this would have removed the aged color from the wood. Since the piece I picked was plenty long enough, I had them cut two wedge pieces that I could use as corbels underneath the mantel.
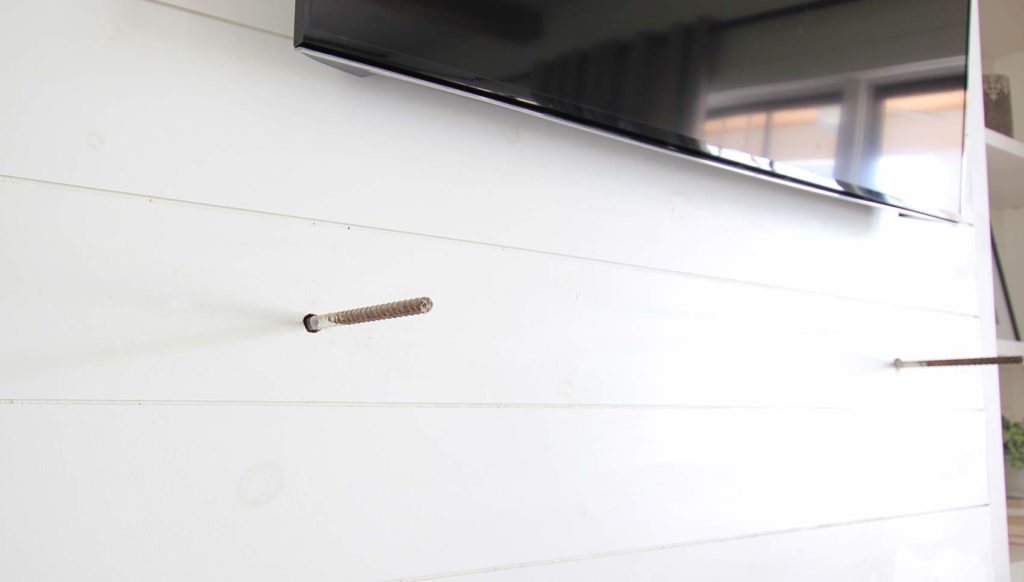
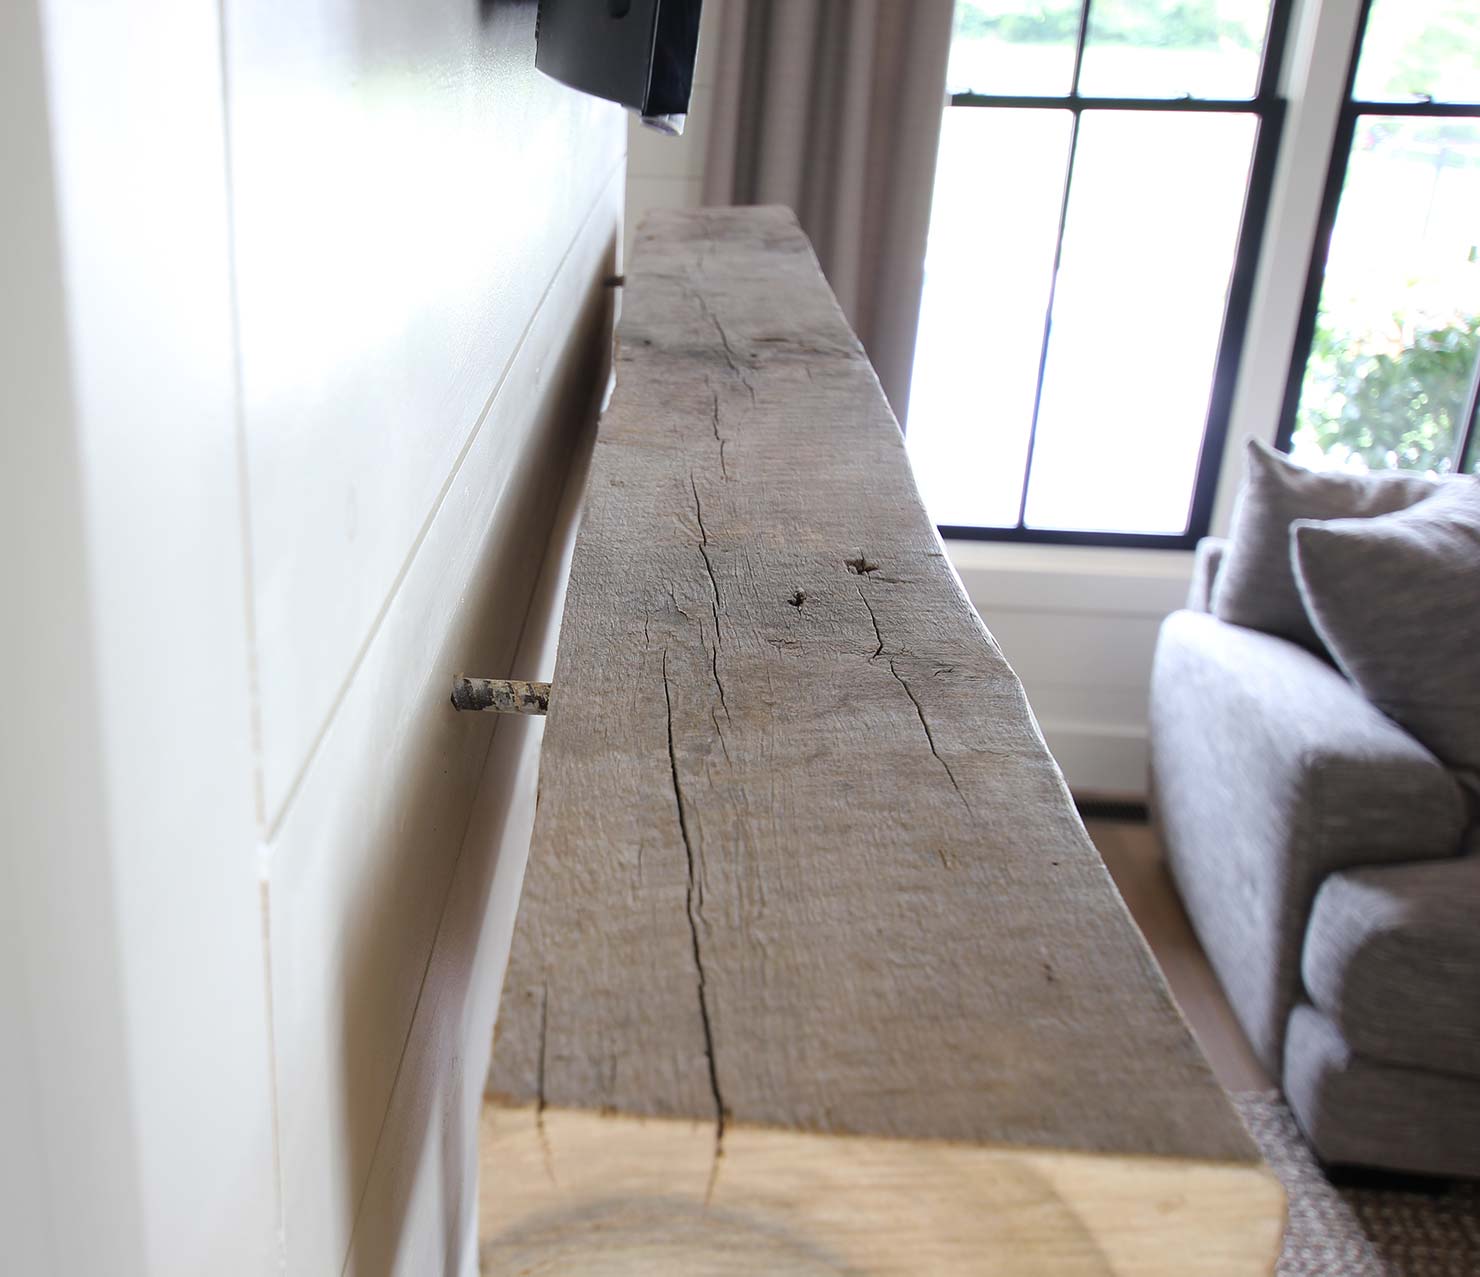
When we were building, we anchored two pieces of rebar to the studs above the fireplace. You can see them coming though the shiplap below.
I don’t have a picture showing the framing, but here is a render that shows how we ran the rebar through the studs in the wall.
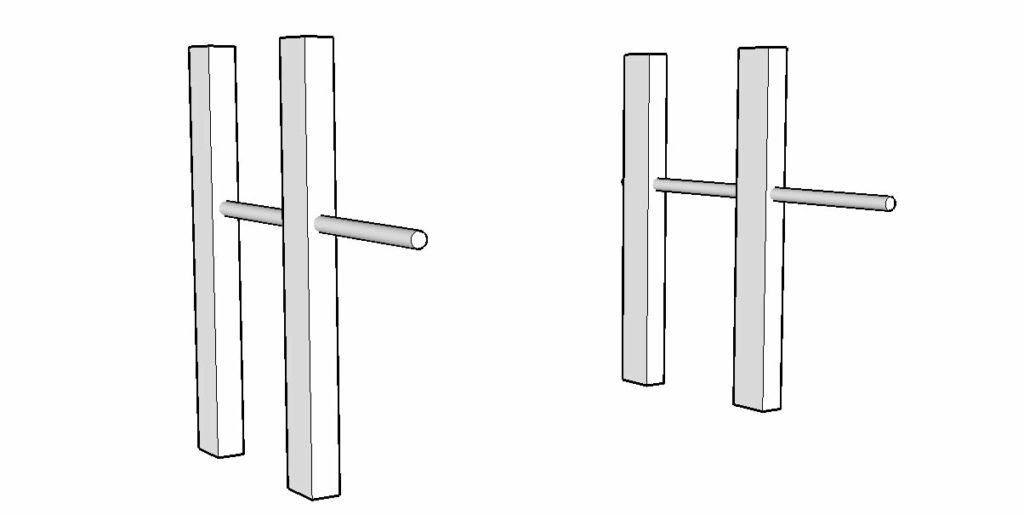
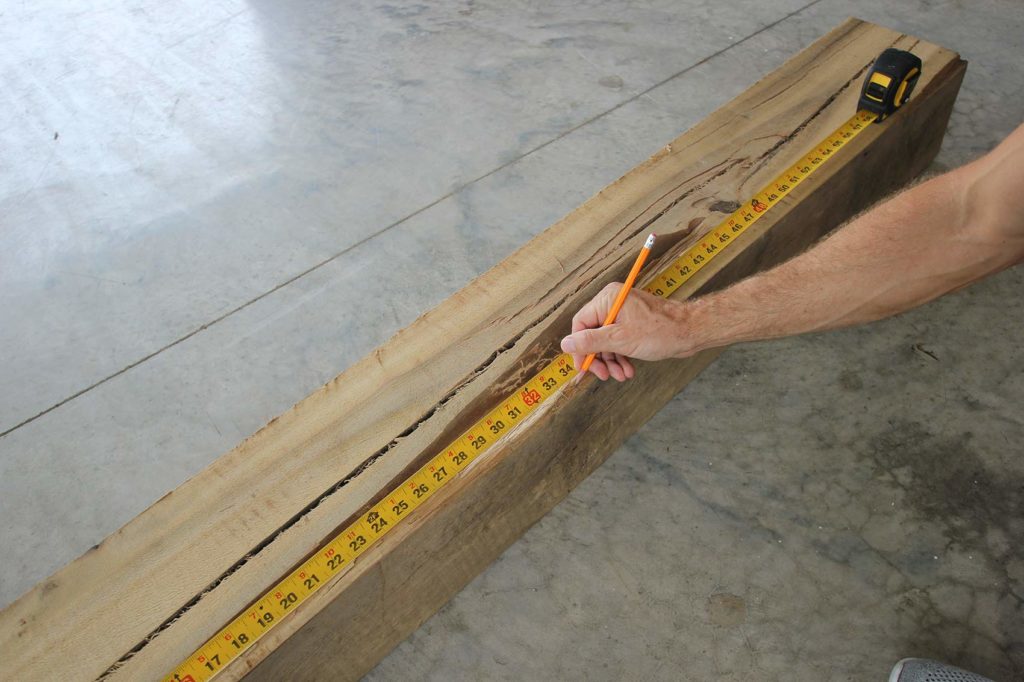
The rebar will slide into holes on the back of the mantel. To start figuring the placement of the holes, I measured the distance between each piece of rebar. Then on the back of the mantel, I measured and marked the middle. I took the distance between the rebar, divided by two, and measured out this number from the middle. Here I made a mark. Then on these marks I measured one and half inches from the top edge of the mantel and made another mark crossing the previous one. This marked where the holes needed to be drilled.
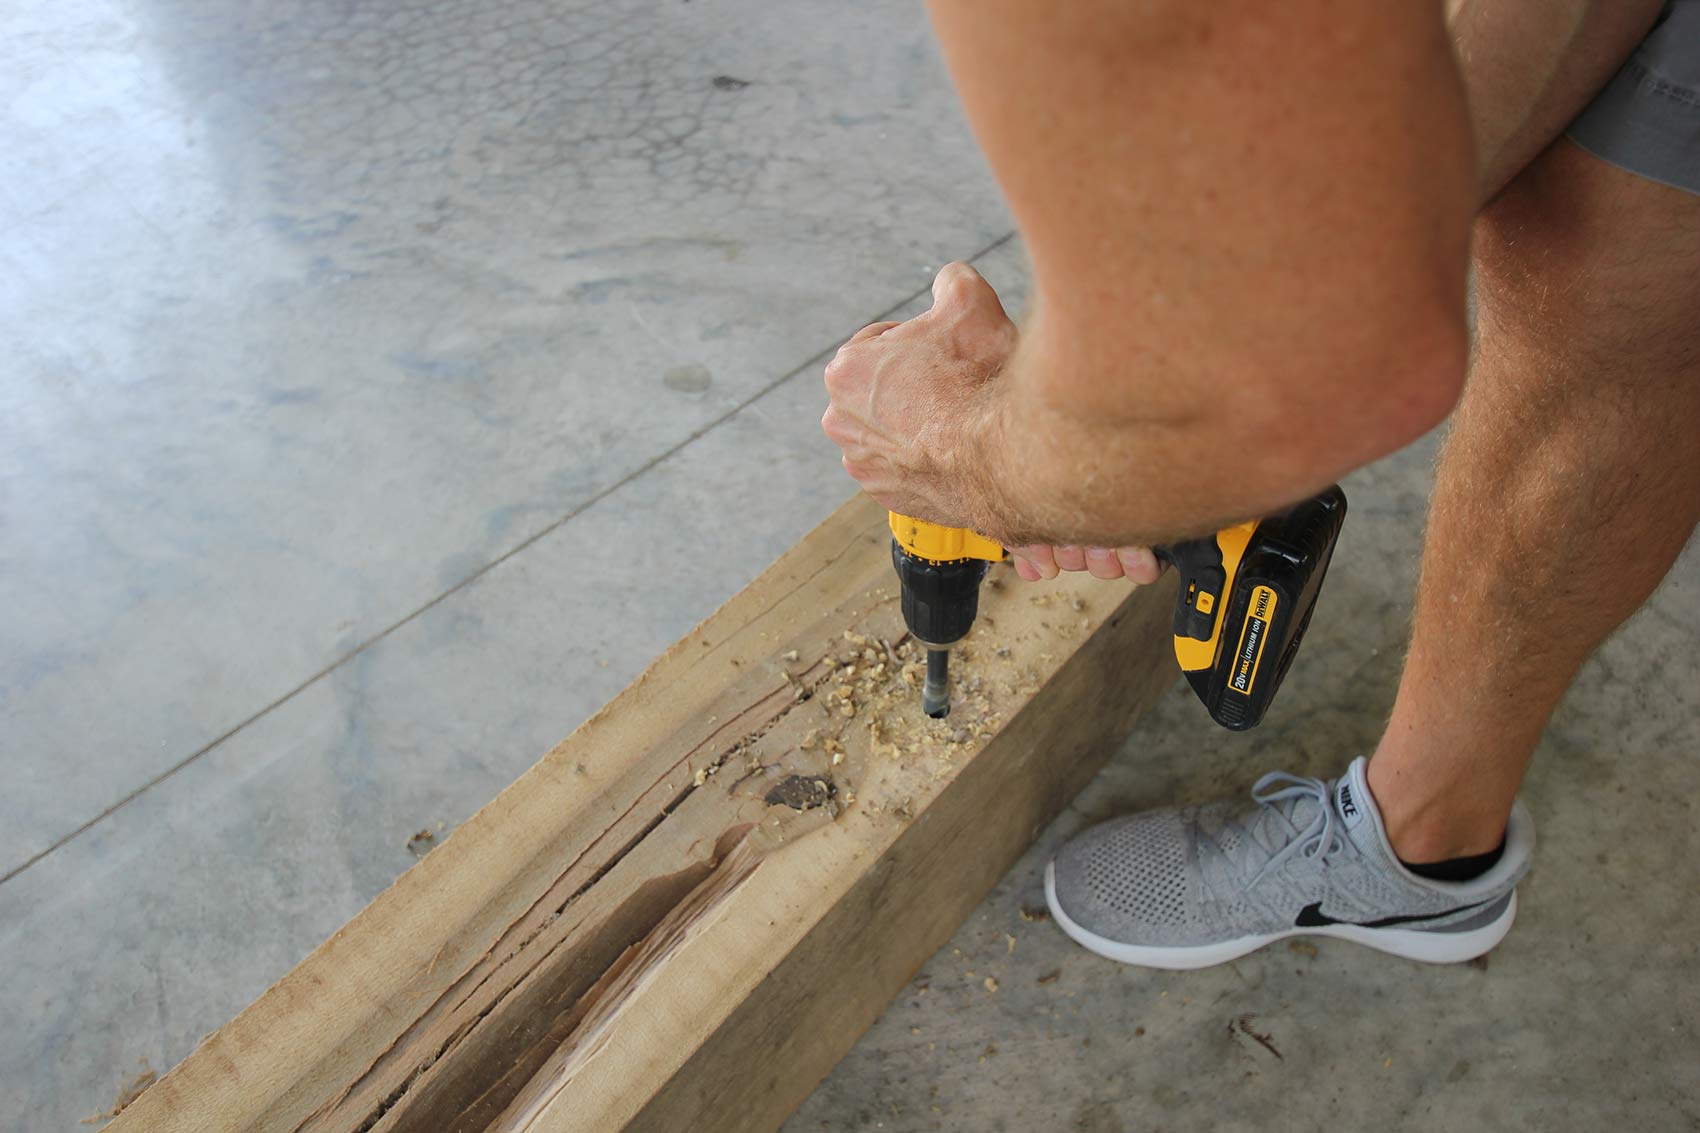
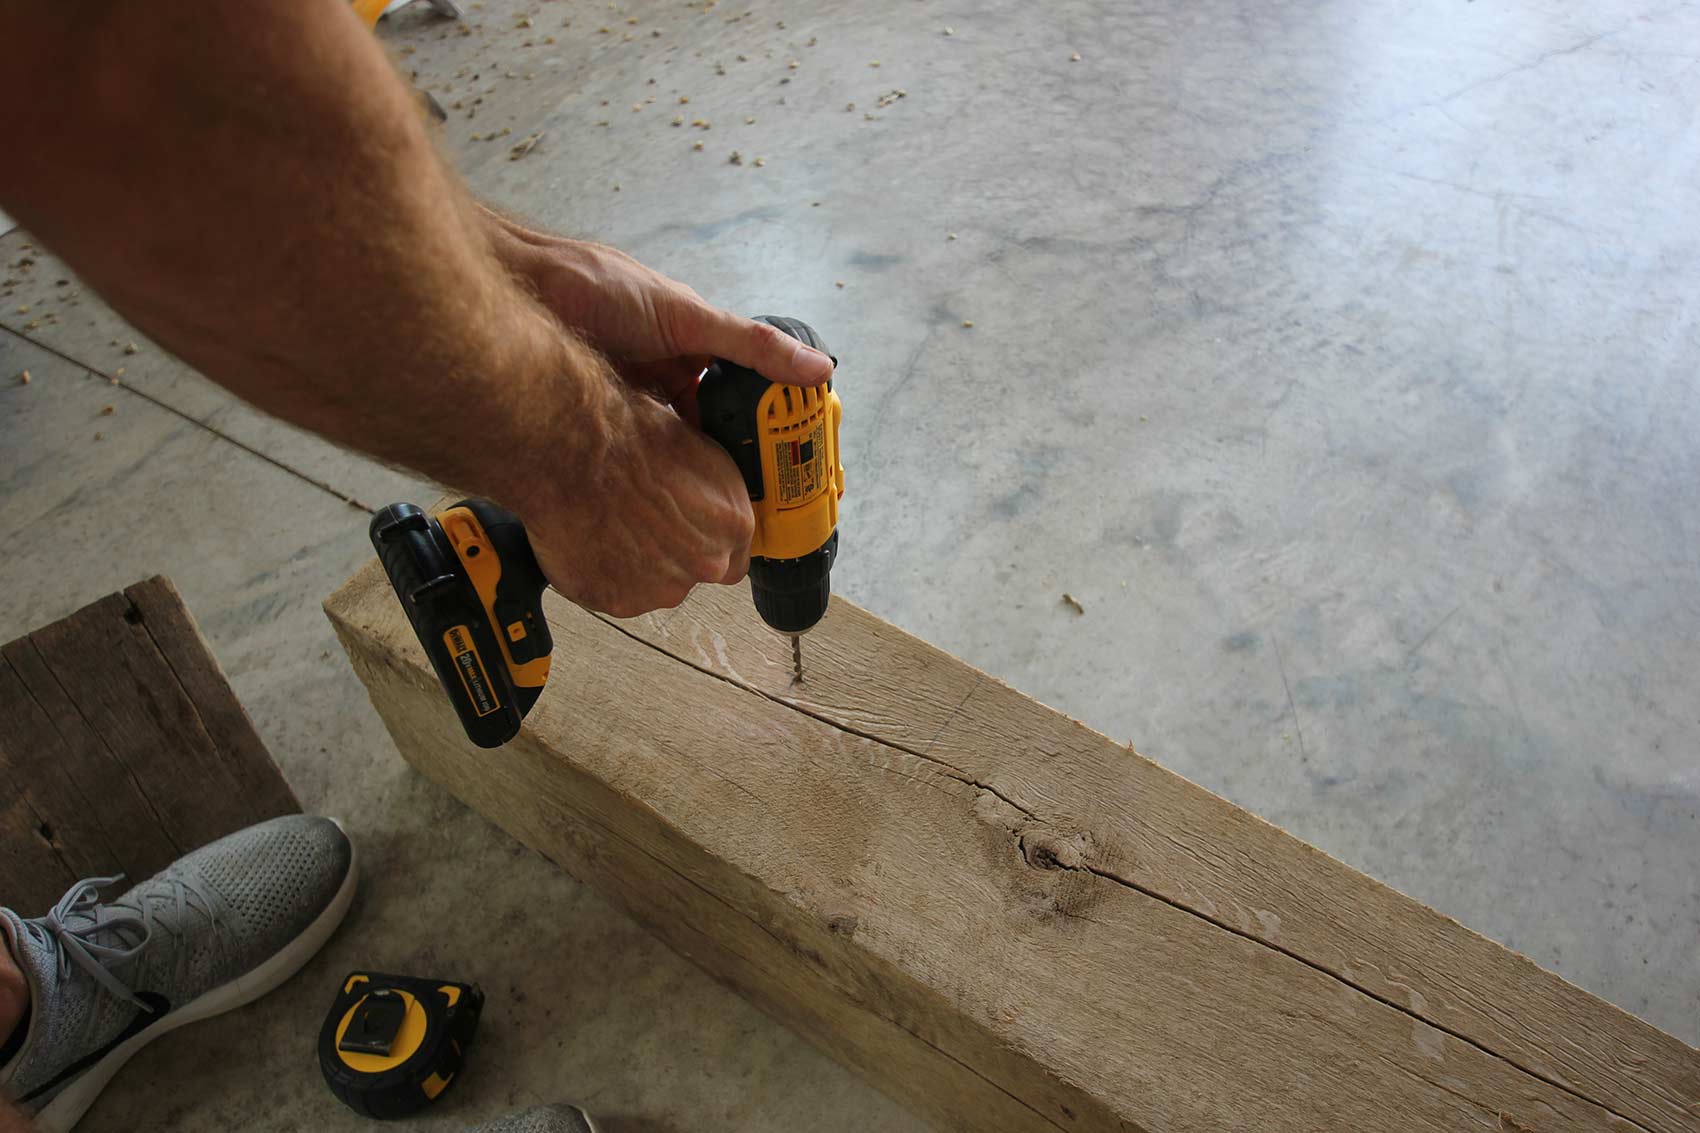
Using a 1/4 inch drill bit, I drilled a pilot hole for the bigger drill bit. It’s extremely important to get your hole exactly on the mark. That way your holes are in the right place, which means your mantel will be level.
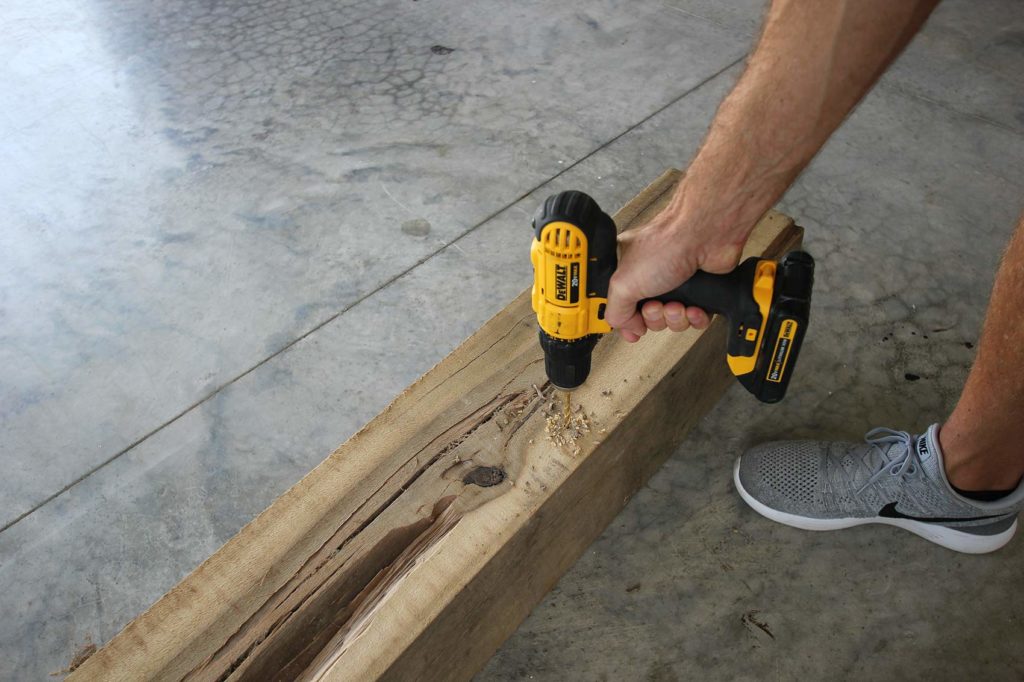
Then I drilled into the pilot hole using the 3/4 inch bit. It’s also extremely important that you drill your holes straight so the mantel will slide onto the rebar correctly.
Once the holes were drilled for the rebar, the next step was to mount the corbels on the bottom of the mantel. In this type of installation, the corbels are purely for looks. They don’t support any of the mantel wait. With this being the case, I decide to simply attach each corbel to the bottom using dowel screws.
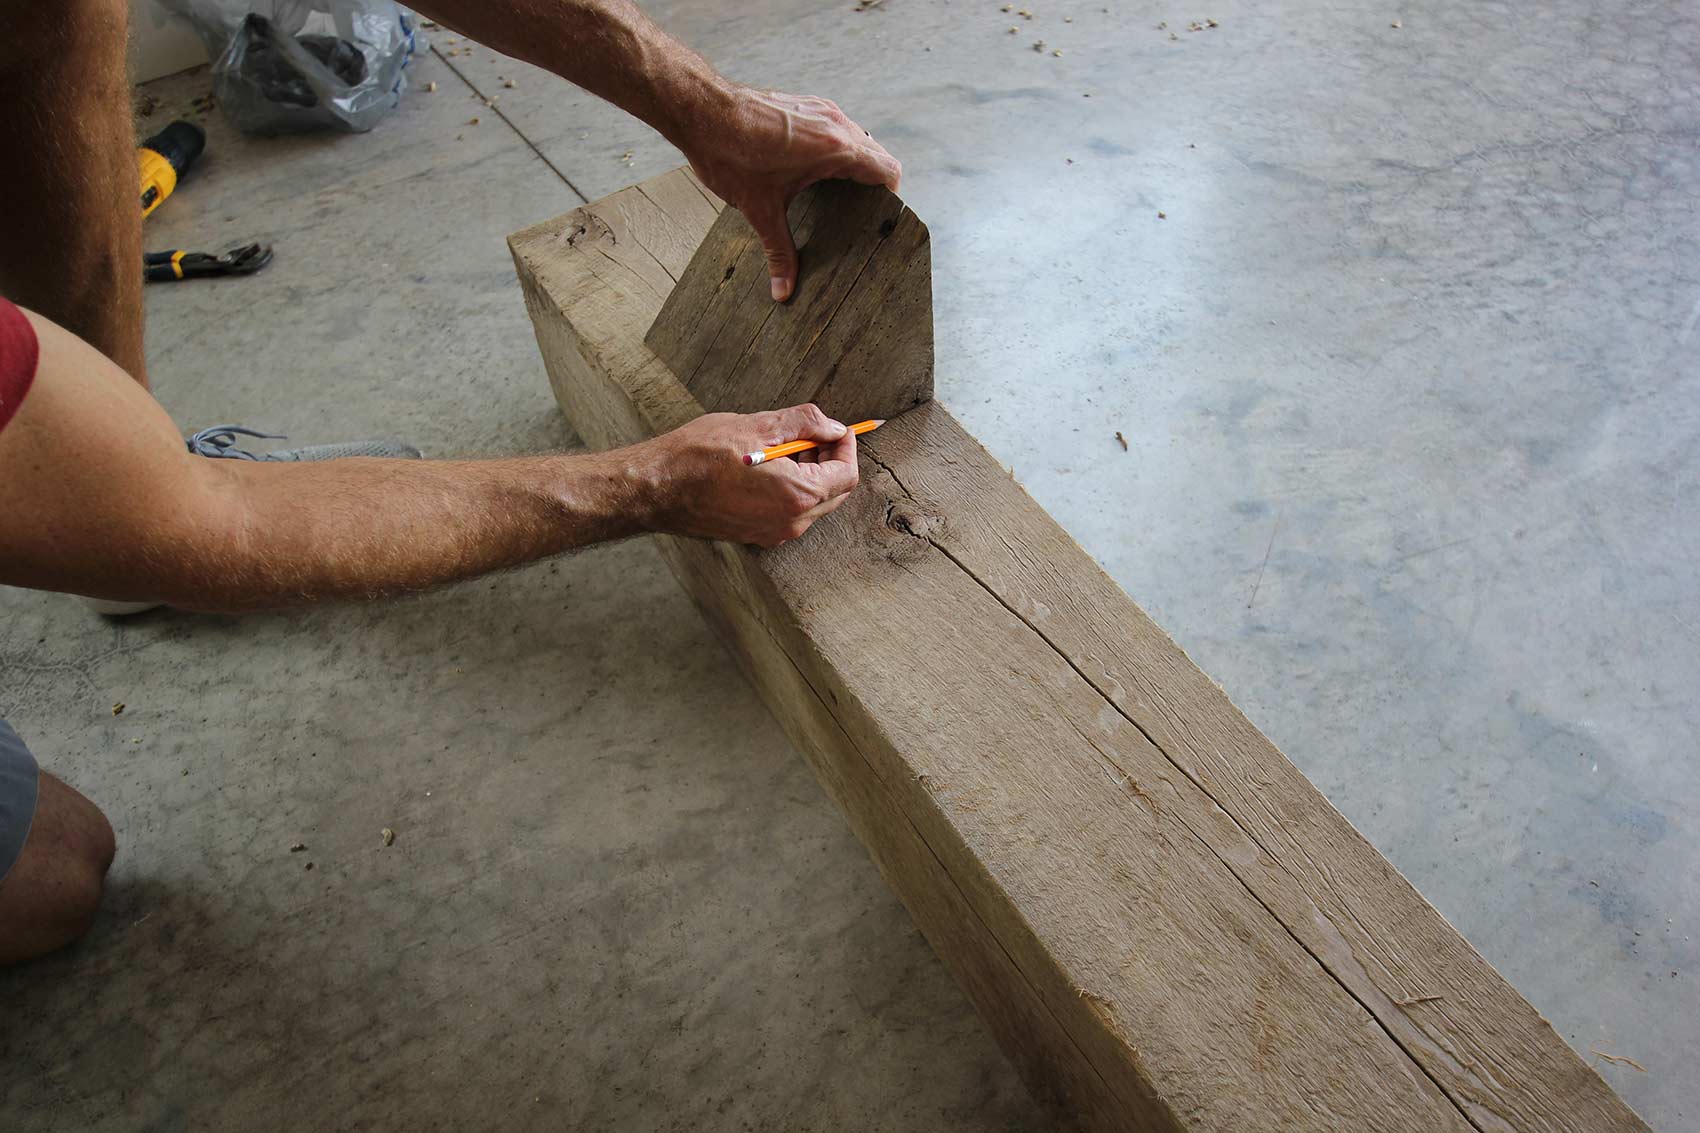
I started by determining the placement of the corbels. I wanted the outside edge of each one to line up with the outside edge of the granite fireplace surround. Once I knew where I wanted them, I placed them on the bottom side of the mantel and marked an outline.
Then in the center of the outlined area, I drilled a pilot hole for the dowel screw.
After twisting in the dowel screw with a pair of pliers, I measured and marked the hole placement on the bottom of the corbel. I drilled an identical pilot hole for the dowel screw on the bottom of the corbel.
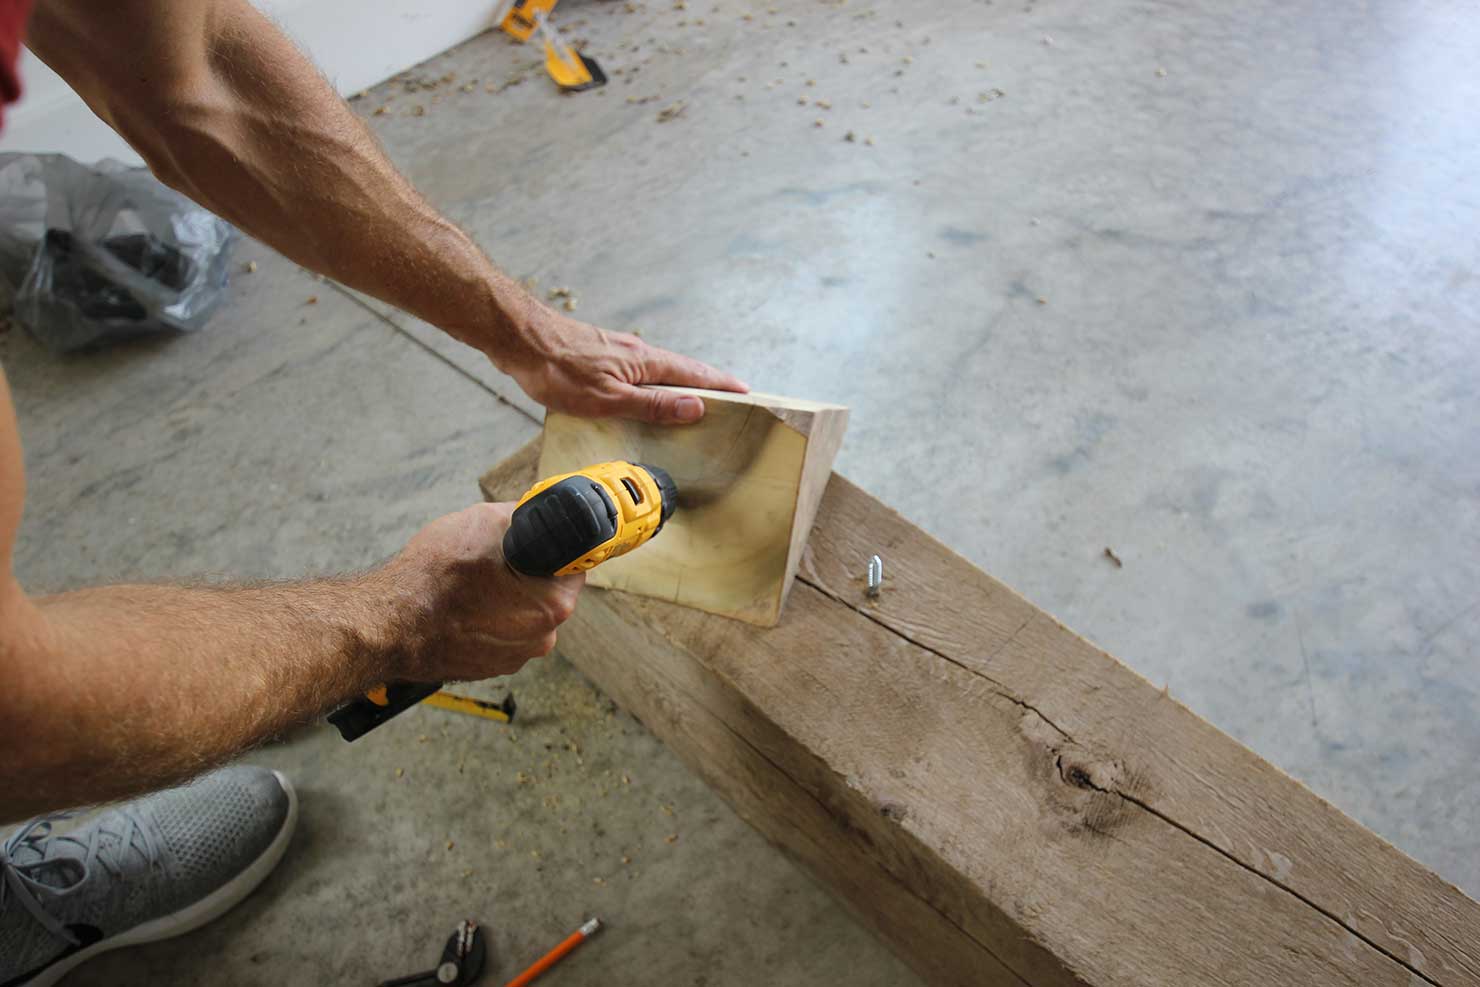
Then I simply twisted it on.
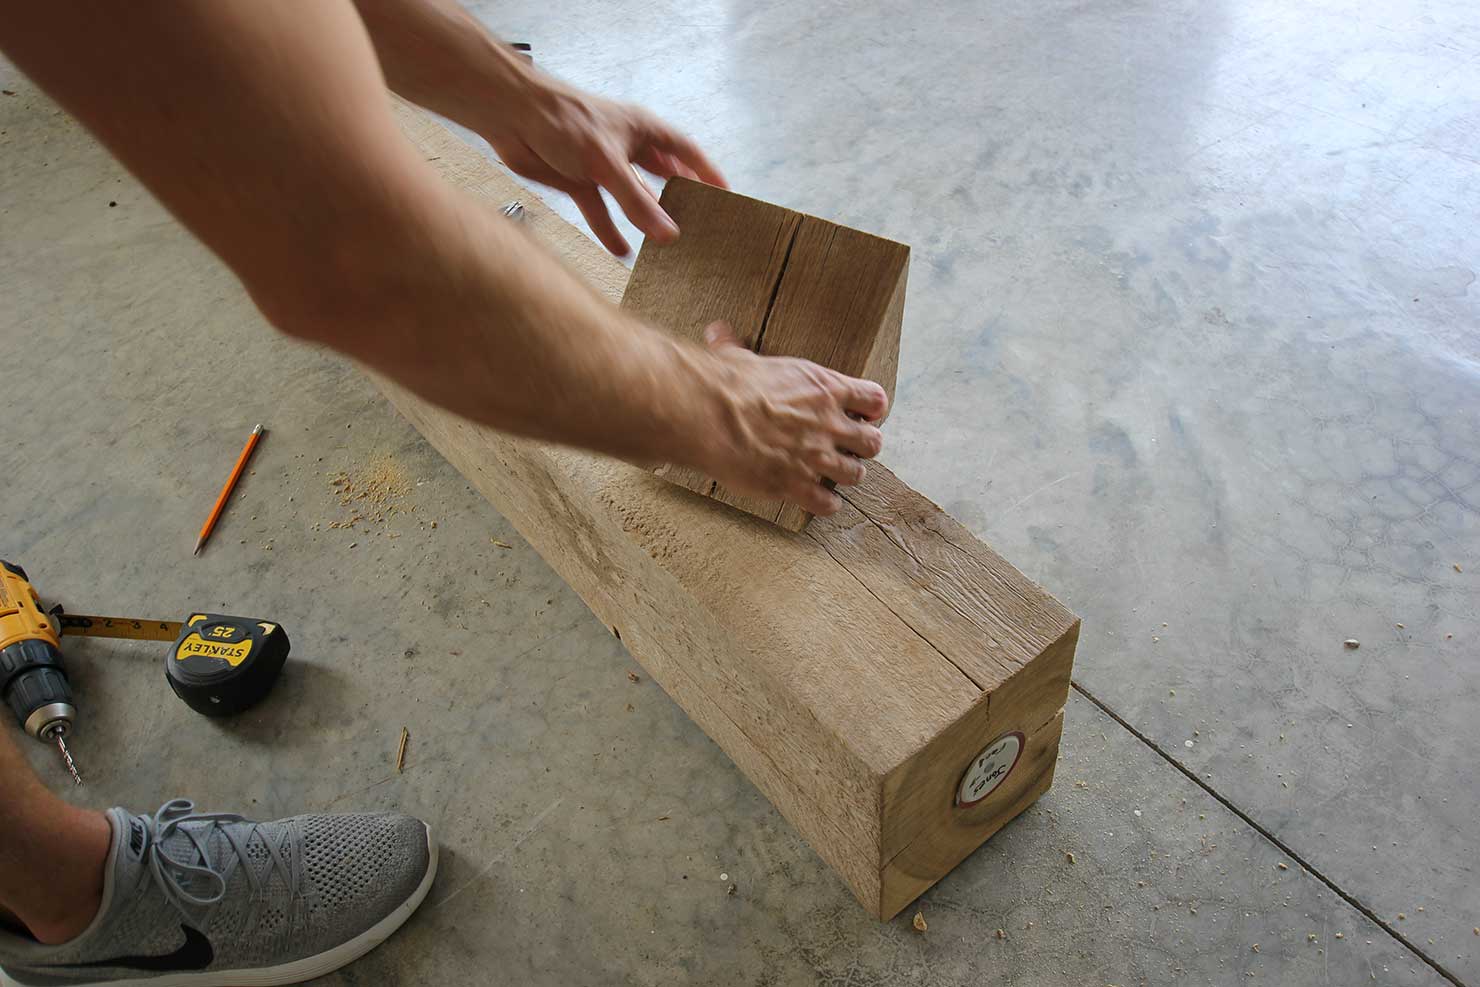
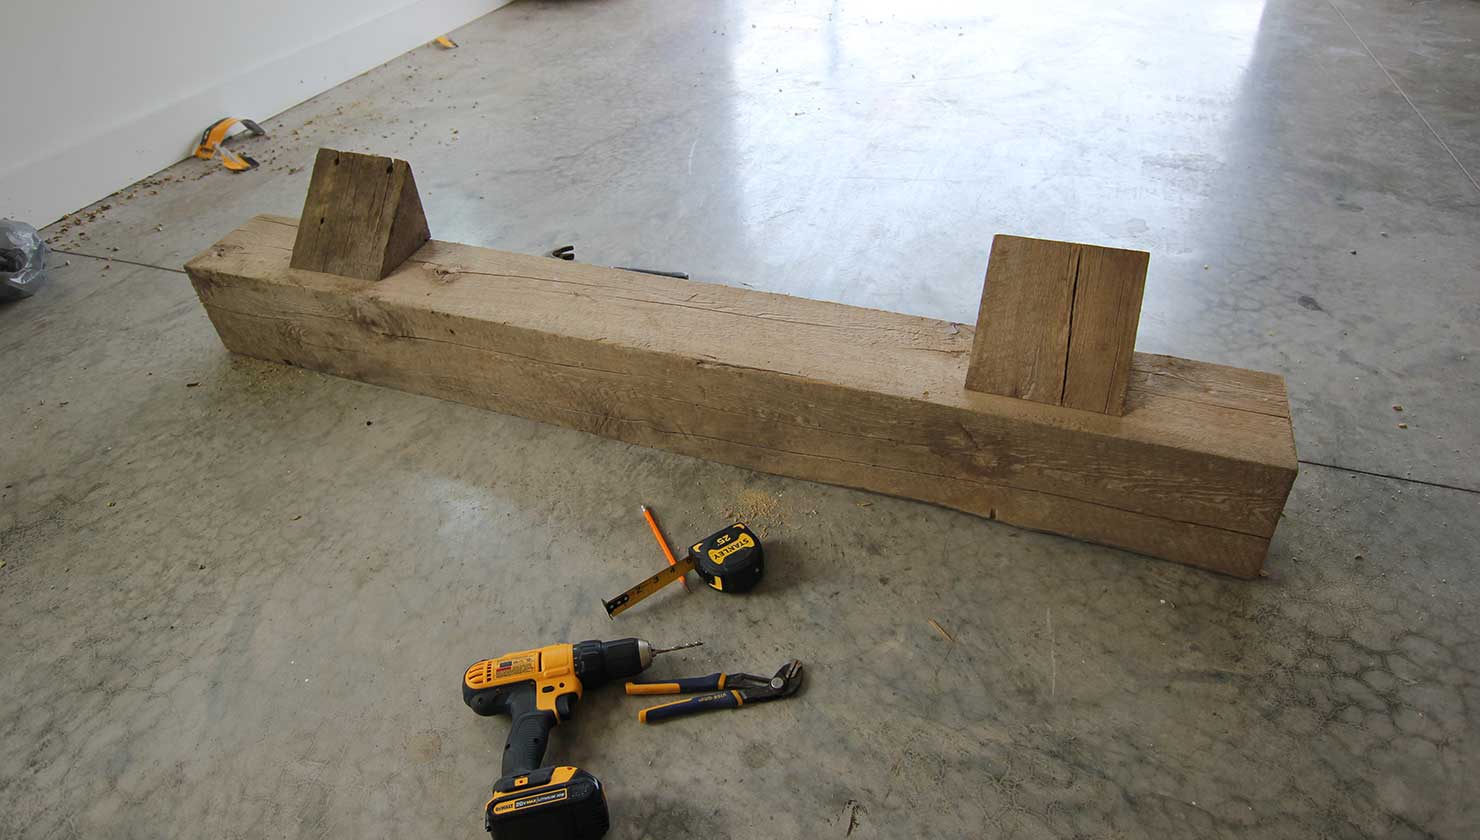
And repeated these same steps for the other corbel. Here you can see the completed mantel ready to be installed.
The next and final step was the moment of truth. I got to find out if I measured and drilled the holes correctly. With Brookes help, I lifted the mantel up onto the two pieces of rebar and it slid into place perfectly.
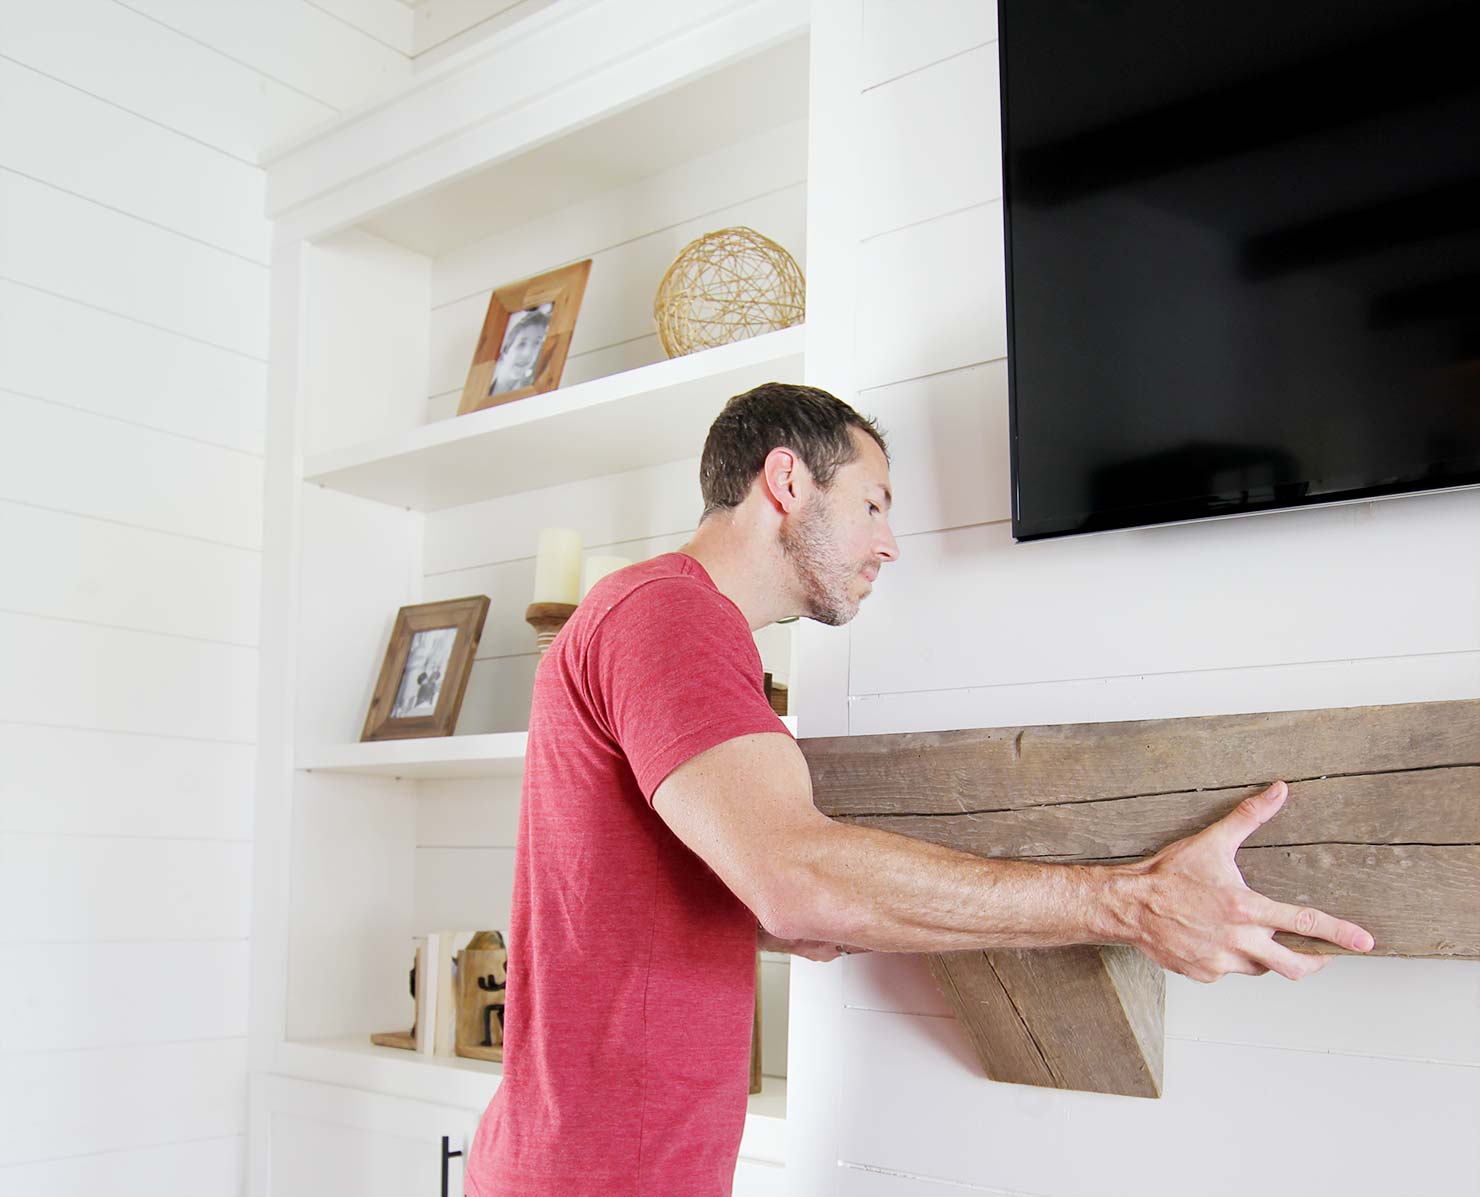
One concern I had was if the mantel needed to be secured to the wall, but once it was in place, I could tell it wasn’t going anywhere. It takes quite a bit of force to pull it away from the wall. But every installation is different. If you do need to secure it in place, you could run a screw at an angle through the bottom of the mantel into the wall.
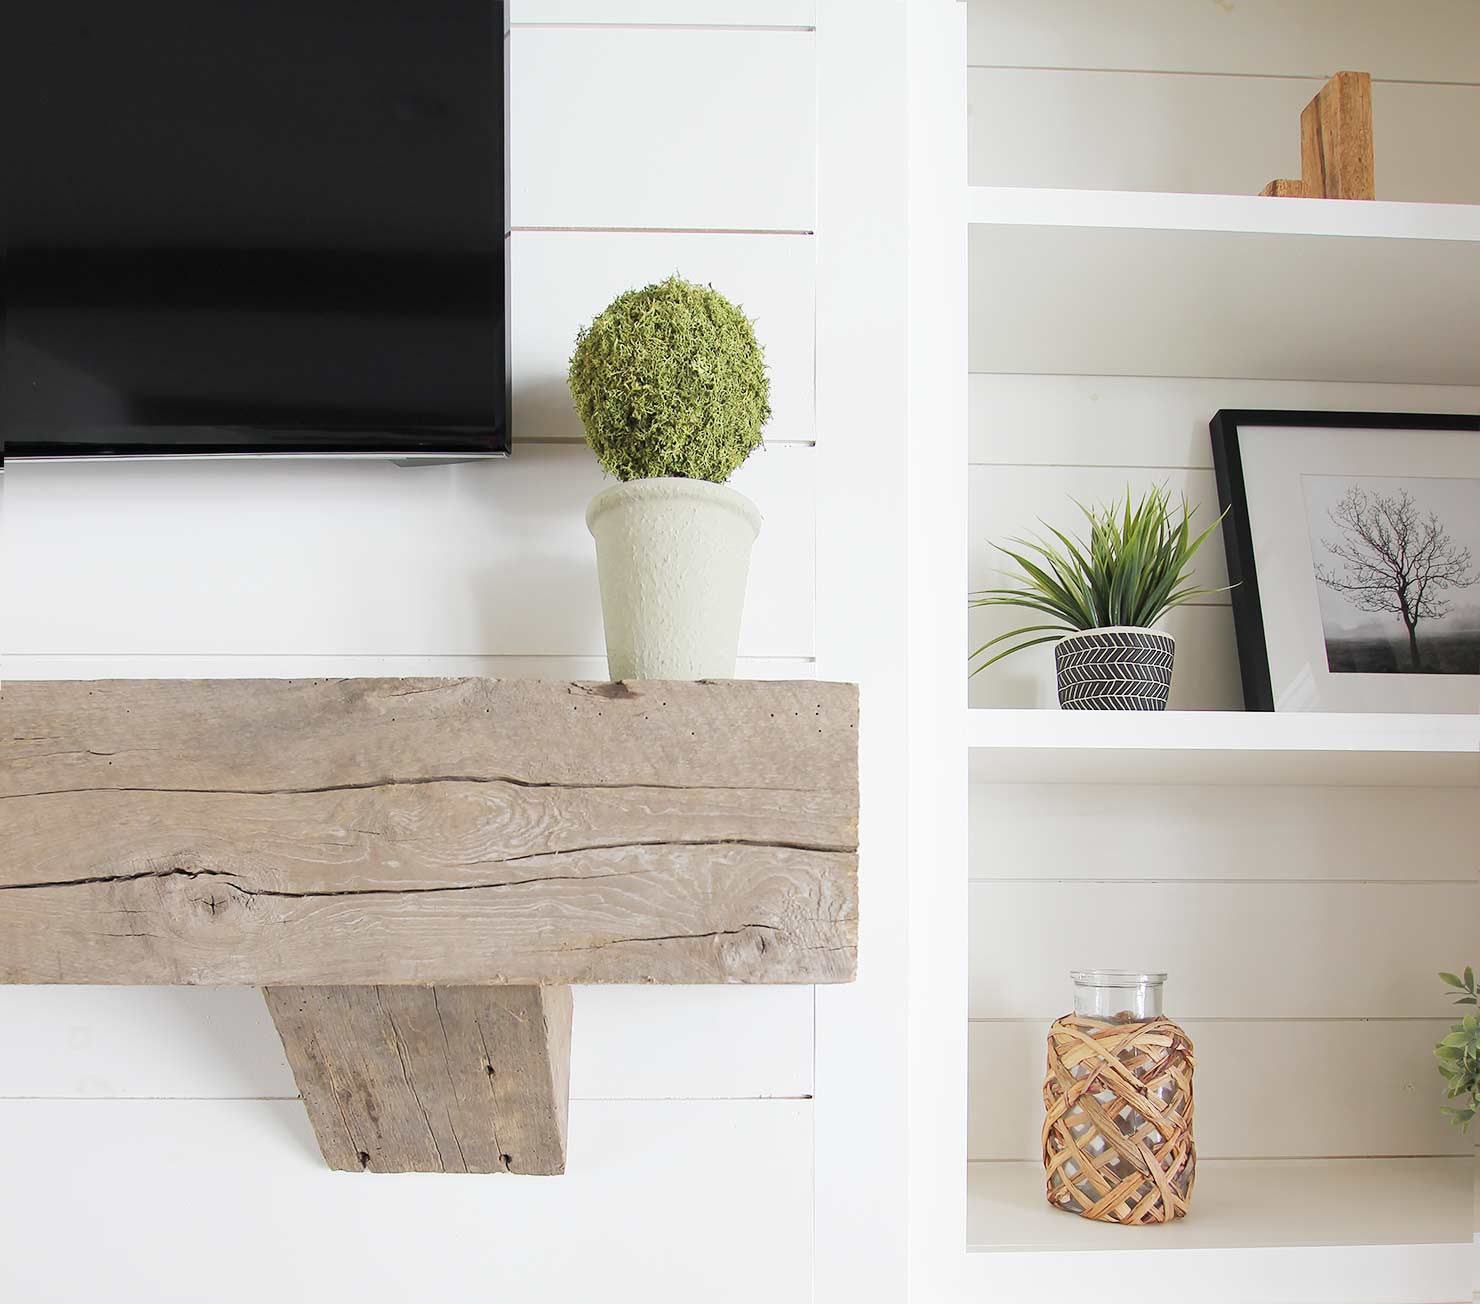
And that’s it, we couldn’t be happier with the way this turned out. Installation was pretty easy, and the hardest part was finding the right piece of wood. One thing I love about the piece we picked out is all of the cracks and nail holes.


6 Comments
Hello! Do you have any information about the fireplace insert you can share?
December 5, 2018 at 5:32 amAlso, do you by chance remember where you found the brass/gold geometric lamp?!
Thank you!!
Hi Mary. The fireplace is the Kingsman ZDVRB3622 from efireplacestore.com. The lamp is from World Market.
December 6, 2018 at 10:48 pmI think I read that y’all are in TN? Where is/what is the name of the reclaimed wood place where you got the wood for the mantle? We have been looking for something like that and we are in Middle TN. Thanks!
March 6, 2019 at 2:26 amWe are in north east TN. There is a place here called Vintage Timbers. https://vintagetimbers.com/
March 6, 2019 at 2:27 pmAwesome! Thanks
March 7, 2019 at 12:35 amWhat are the dimensions of this mantle?
July 8, 2019 at 12:10 am