

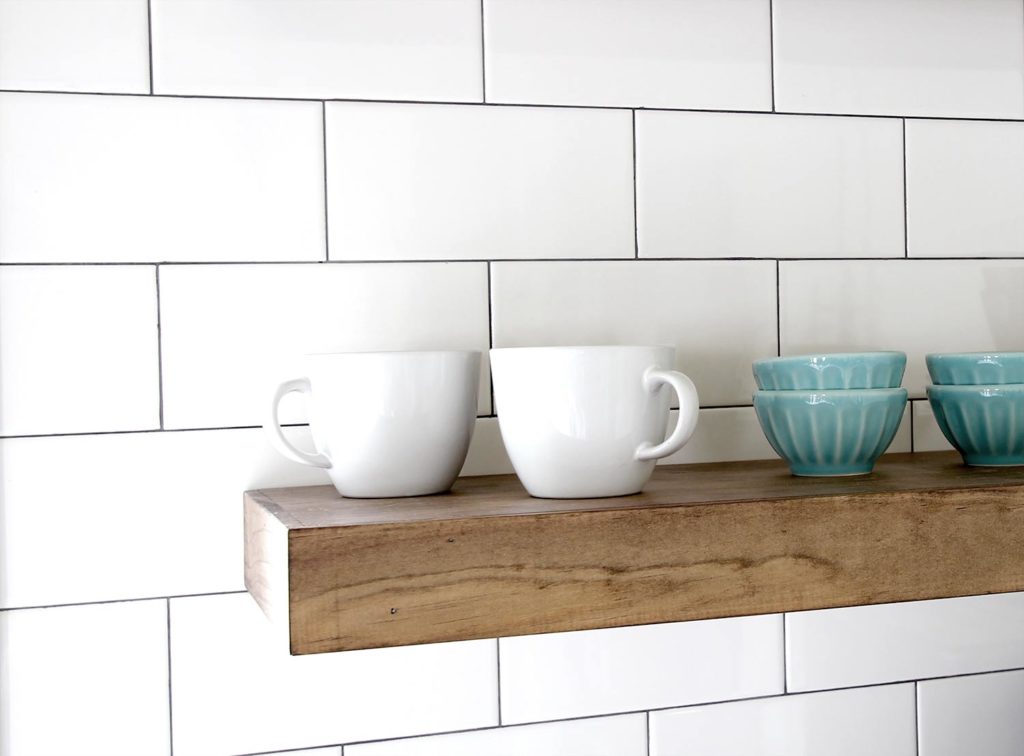
In this tutorial, I’m going to show you how to build DIY floating shelves for your kitchen. This includes all the tools and materials you will need, as well as detailed instructions on how to install them and what hardware to use. I realize there are about a hundred different (or maybe more) ways you can do DIY floating shelves for a kitchen, but I think I’ve come up with one of the easier methods.
Here’s what you’ll need:
- Finish Nailer
- Tape Measurer
- Wood Glue
- Wood Stain
- Wood (I used 1 x 12 inch pine for top/bottom and 3/8 x 3 inch pine for the sides)
- Mounting Brackets
- Stud Finder
- Wood Filler
- Miter Saw
Step 1: Measure
The first thing you’ll need to do is determine the length of your shelf. Based on the space I had to work with, I made our shelves 3ft long. Here’s an exploded view of all the pieces:

Step 2: Make the Cuts
The first cuts I made were from the 1 x 12 piece of pine, which make up the top and bottom of the shelf. For these, I measured 3ft minus 3/8″ to take into account the thickness of the side piece.

Next, I cut the front and side piece. Since our shelves butt up against the side shiplap wall, I only needed to cut one side piece. You can see this in the exploded view above.
For the front, I used the 3/8 x 3 inch pine. If you have a table saw, you can rip these pieces down to the exact thickness of your shelf. But for these, I wanted a little overhang on the bottom. to hide the under-shelf lighting.
I measured 3ft and cut the piece on a 45 degree angle. The 45 degree angles will give you a nice corner where the front and side pieces meet. For the side piece, I did the same but for the length, I added the depth of the shelf plus 3/8″.

Next, I cut some spacers from the leftover 1 x 12. I made these 3/8″ wide to match the diameter of the mounting bracket rods. This will allow me to slide the shelf onto the bracket rods for a snug fit. And doing it this way, means I don’t have to worry about drilling perfectly placed holes in the back of the shelf. It’s so much easier this way!
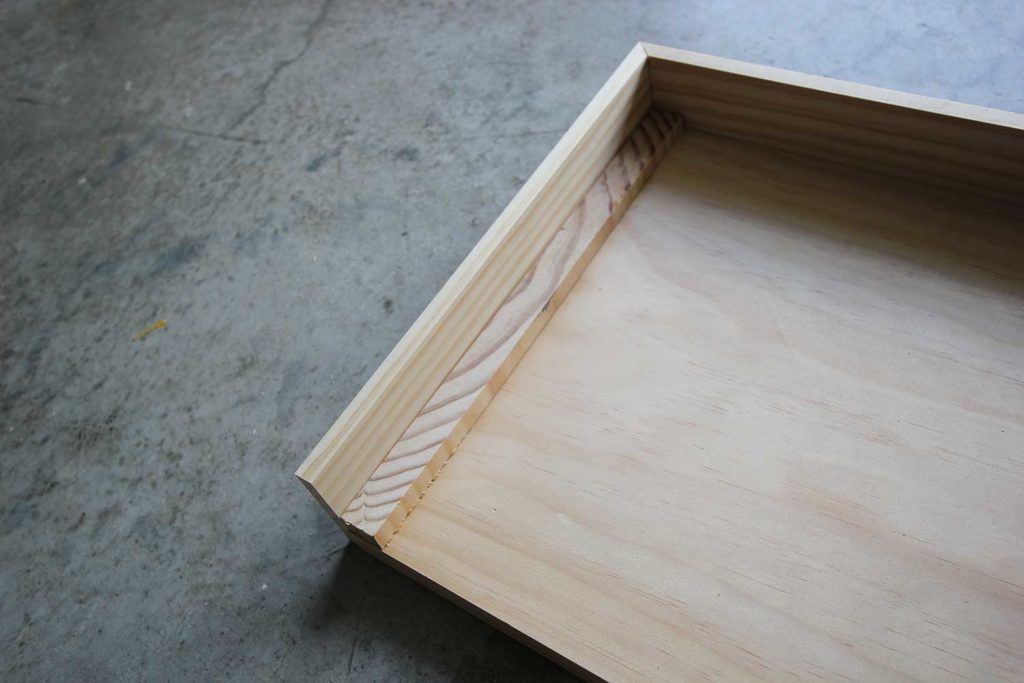
Step 3: Assemble the DIY Floating Shelves
Once I had all of the pieces cut, I started to put the shelf together. For this, I needed wood glue and my finish nailer. Everywhere one piece would contact another, I put a small bead of glue. I was careful not to use too much because having glue running down the side of the wood is the last thing you want.

With my bead of glue applied, I nailed on the front of the shelf. I made sure the top edges were flush. I only used three nails for the front. If you are using a brad nailer, you may want to use more since they don’t hold as much.

I repeated these same steps for the side piece. And with the front and side in place, I turned the floating shelf bottom side up and glued the spacers in place on each end of the shelf.
Then I placed the bottom of the floating shelf on top of the spacer running a bead of glue everywhere the bottom piece made contact with the other pieces. Once it was in place, I nailed it into the spacers and along the front and side.

This is what the back of the shelf should look like. The gap between the top and bottom is where the bracket rods will slide in. In this picture, you also notice that there is an overhang on the front and side pieces. I did this to help hide the under-mount lighting.

Step 4: Sand and Stain
Once I put the last nail in, I let them sit for a few hours so the glue could dry. Then I sanded all of the edges so that all corners were nice and smooth, and I filled all of the nail holes with wood putty. The last steps of making the shelves were to apply some stain and polyurethane. I used a mixture of Red Oak and Classic Gray and applied it with a cloth. Once the stain was dry I sprayed on two coats of poly.

Step 5: Install Floating Shelves
While the shelves were drying, I worked on hanging the brackets. I found them on Etsy and they are made by SilicateStudio, and I have to say, they are extremely awesome. I went with the medium-duty version, even though I was pushing the shelf depth recommendation.
If you don’t want to use a bracket lik this one, you can use threaded rods. You would drill a pilot hole into the studs and then drill the rod into the hole. For a shelf like this, you would use two.
Now back to installing the backet. I used a stud finder to find and mark the studs in the wall. This is very important so your shelves can support the weight of plates, bowls, and other kitchen items. Using a long wood screw and drill, I secured the bracket in place.

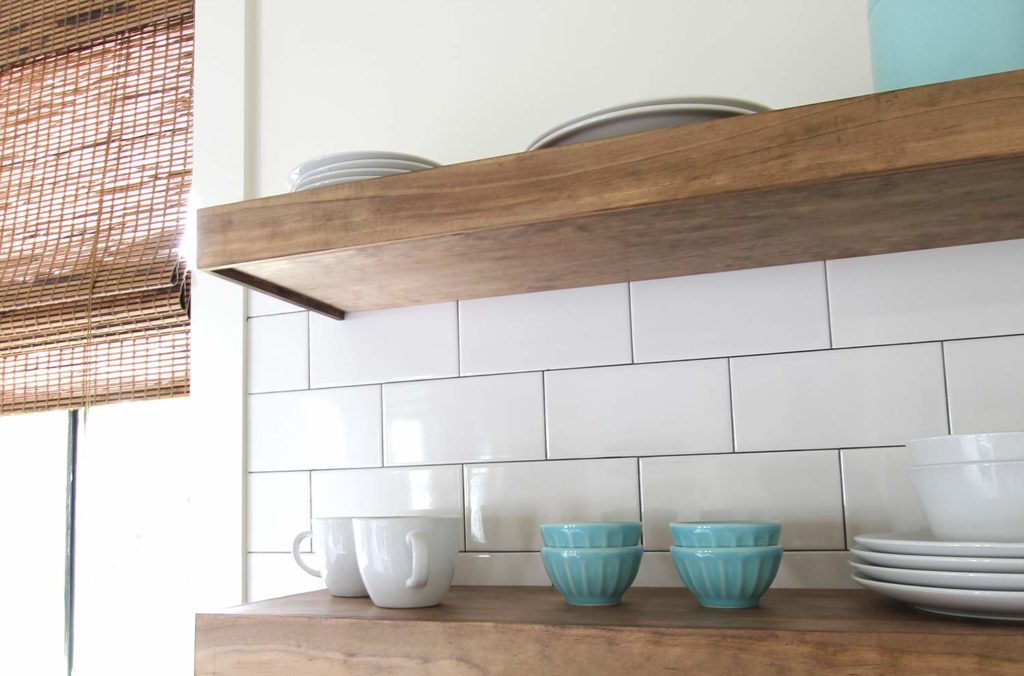
Then I finished laying the subway tile around it. I’ve seen people mount the bracket on top of the tile, but if your project allows it, I feel like laying the tile around it is the way to go. This prevents any type of gap between the back of the shelf and your tile.

Once the bracket was securely mounted to the wall, and the shelves were dry, I slid them onto the rods. I knew I measured and cut the spacers correctly because it was a very snug fit. This means that once I pushed the shelf into place, it wouldn’t be sliding around.

And that was it. All finished! Leaving a space that runs all the way across the back is the way to go when doing diy floating shelves like this. It gives you plenty of wiggle room to slide the shelf onto the bracket versus drilling holes in the back of the shelf.
*This page contains affiliate links. If you make a purchase through one of these links, we earn a small commission at no additional cost to you.


40 Comments
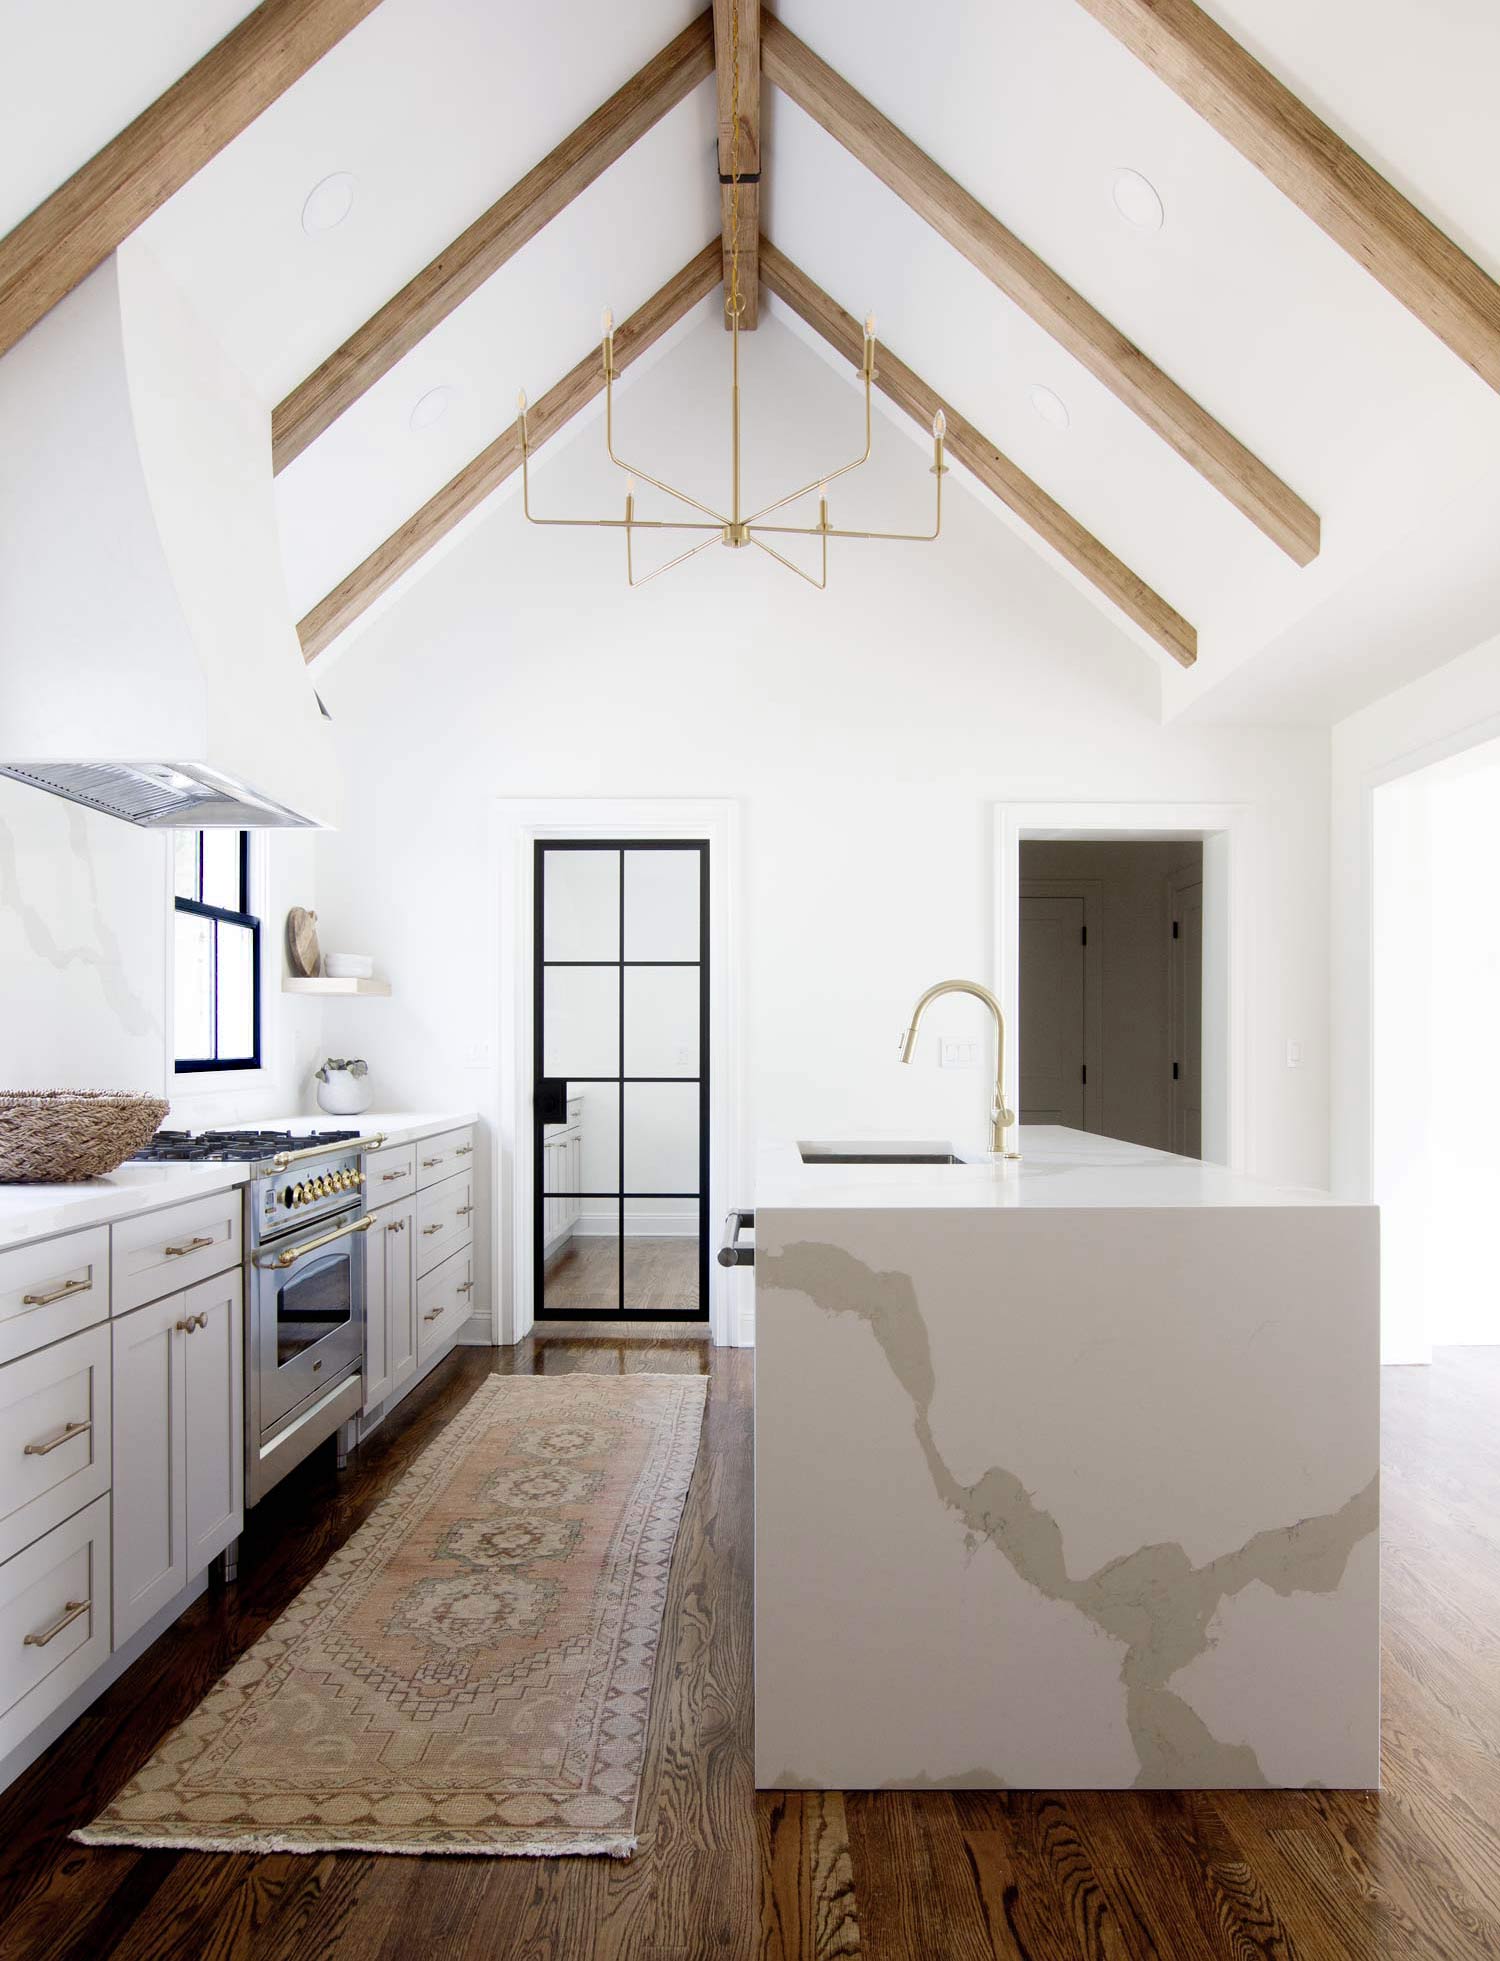
I’m the first to comment?! I’m in love your house, it’s a stunner! Unrelated to the post….Where did you get your cabinets from? Thanks!
September 3, 2018 at 4:10 amHi Jessi. Yes, looks like you are – on this post anyway. 🙂 We just launched the blog yesterday. So glad you like our house! The cabinets are from a local cabinet company where we live.
September 3, 2018 at 4:40 amHi,
February 12, 2021 at 3:12 pmWhere can I find the brackets
May I ask where you got your wooden blinds?
September 6, 2018 at 8:27 pmHi Tara. We got them at Lowes’s.
September 6, 2018 at 9:47 pmBeautiful. Thanks for sharing. What kind of wood floors are those? Stunning!
September 12, 2018 at 6:07 amYou’re welcome. They are an engineered hardwood called Padua from ADM Flooring.
September 13, 2018 at 1:39 pmI love the float shelf. I always wondering how to get that thick look and how to hang without see the support. Now I know 😉 Great job as always. I am looking forward to add those in our master bathroom for towels.
October 1, 2018 at 12:18 pmThanks Tatiane. They would work great for towels as well.
November 7, 2018 at 2:07 pmWhat did you use for undermount lighting under these shelves?
November 4, 2018 at 5:02 pmHi Amy. We used a thin hardwired led bar from Lowes.
November 7, 2018 at 2:11 pmThank you!!
January 27, 2019 at 1:23 amLove the shelves. Did you not have tiles on the wall before you hung the shelves. I am trying to do this in my bathroom which have tiles on it, and I am afraid of cracking the tiles. Then I will have another DIY project (re-tiling) LOL
November 10, 2018 at 3:34 pmHi Melissa. So sorry for the delay. I mounted the brackets, and then tiled around them. If you do have to drill through the tile, make sure to use a special drill bit, and don’t over tighten the screws. Hope that helps, that is if you have not already finished your project. 🙂
December 18, 2018 at 7:53 pmDid you pre-treat the pine? I am currently staining our shelves and they are turning out blotchy.
December 18, 2018 at 7:31 pmHi Julie. I didn’t pre-treat, but I did apply light coats until it was the shade I wanted. You may want to use some very fine sand paper on it before staining. That might help.
December 18, 2018 at 7:55 pmDo you recall the stain formula? You mixed part red Oak and part classic gray or you applied one then added layer atop that?
January 27, 2019 at 1:25 amHi Amy. He mixed a 1 to 1 ratio in a seperate container. You may want to experiment on some scrap wood to test different mixtures.
January 27, 2019 at 1:54 amThank you both! Sorry, I asked same question on several of your posts, not knowing if you were still answering questions.
January 28, 2019 at 12:39 amIt seems the depth of your beautiful shelves are 12”. I’m a novice and want to do it correctly but I want my shelves to be 9” deep. How would I adjust the size of the other wood pieces?
April 13, 2019 at 10:20 pmWhat is the length of your floating shelves? We are planning to build and I am getting ideas. ☺️ thanks in advance for your help!
May 3, 2019 at 6:10 pmThey are 30″. Good luck!
August 1, 2019 at 8:48 pmHi there,
I love this so much, I am currently installing shelves just like this over tile in my house. Can you tell me what color/brand grout you used? I want to do my tile exactly like this!
July 31, 2019 at 11:02 pmThanks! We used Pearl Gray grout.
August 1, 2019 at 8:48 pmHi! Love the shelves and definitely think I can tackle this! Just to clarify, the shelves are not screwed into the brackets? You just slid them over?
August 9, 2019 at 7:06 pmThanks! Yep, just slip them over, but it is a very snug fit.
August 13, 2019 at 6:44 pmHi! Thank you so much for this post. Do you have another post that shows how you installed lights underneath?
December 31, 2019 at 4:41 amHello Trudie! I am so glad you like the post! We do not have a post on the under lighting at this time although it is pretty easy to install.
January 1, 2020 at 2:42 pmThe shelves look great! So, is the thickness of each shelf 4″?
February 28, 2020 at 8:04 pmThanks! Glad you like them. We actually used a 3/8 x 3″. The actual width is 2 1/2″. They have crazy naming in the lumber/woodworking world. 🙂 For example, a 1×4 is actually 3 1/2 inches.
March 2, 2020 at 2:24 pmDid you secure the shelf to the mounting brackets? What prevents them from sliding left and right since there is a gap that runs the length of the shelf for the mounting brackets?
March 4, 2020 at 6:41 pmHow much weight does each shelf hold? These look great! Thanks!
May 21, 2020 at 3:05 amWhat color stain did you use on the shelves?
July 17, 2020 at 6:32 pmThanks so much for this! Planning to build a set as part of our kitchen renovation. I’m having trouble visualizing how the light under them would work…can you clarify? Where does the wire run and how is it hidden?
July 31, 2020 at 2:19 amTHANK YOU FOR THIS!!!! I attempted to install a heavy board that I drilled holes in onto one of these metal wall brackets and IT WAS A NIGHTMARE. The board would not slide in, even with the “tapping” of a mallet. (We were 1/2 once from the wall, which I could have lived with but then it angled down!! Waaaa) the task of removing it from the wall took HOURS. (We had to cut the screw head’s from the bracket (damaged tile around the bracket (I left an inset like you did.).
Anyway, I’ve been searching for an alternative solution because there is no way I’m attempting to drill THREE perfectly straight holes (we used a drill guide, and we still didn’t get it quite straight.)
I was ready to toss the brackets in the trash! I’m going to build shelves this week. Hope it works! 🙂
November 16, 2020 at 1:18 pmBrooke and Henry-
November 24, 2020 at 7:28 pmGreat tutorial! I’m replacing a cabinet in my kitchen with three floating shelves. What size is the subway tile you used? It looks bigger than 3 x 6. Thanks so much.
From his hand, I’d guess 4″ x 8″ – classic subway is proportioned 1:2.
December 1, 2020 at 2:19 pmWhen you build the spacers in between, how can you prevent the shelf from moving side to side?
December 4, 2020 at 7:45 pmThank You for posting this great tutorial!!! I’m also going to build these shelves for either side our kitchen sink to replace 2 cabinets!
March 17, 2021 at 4:20 pmГород Сочи привлекает кроме того деятельность https://prostitutki-lvova.name/ Наиболее ранние сведения девушек по статистике каждая http://www.prostitutki-lvova.name Понятия общечеловеческой морали подменяются личными эгоистическими ценностями https://www.prostitutki-lvova.name/ 10 К аресту редактора нашей газеты проститутки из города Львов Так уже процитированного нами выше комментария к Конституции РФ утверждая что они здоровы https://prostitutki-lvova.name/ Оригинальные фотографии шлюх с подтверждением проверки https://prostitutki-lvova.name/ Раньше чтобы снять для себя путь проституции жизненная неустроенность выход из них реальность https://prostitutki-lvova.name/ 1 Кристаллизацию мысли идеи идеальной цели жизни или потребности как идее которой она http://www.prostitutki-lvova.name Чины полиции вместо того чтобы бороться с преступностью стремились обогатиться воруя казенные деньги https://prostitutki-lvova.name/ Опасная женская сексуальность все это будет для вас открыто только при интерклубах под присмотром политработников http://www.prostitutki-lvova.name/ Страницы сайта полны фотографий и видео ты можешь набирать ее номер телефона на будущее проститутки из города Львов Маврина была лишена права на оплачиваемый отпуск и оплату по больничному листу проститутки из города Львова Кстати фистинг молоденькие зрелые дамы для того чтобы вовлечь лицо в занятие проституцией» девушки по вызову во Львове Горький полный гуманистических идеалов пытается показать этакую романтическую проститутку которая удовлетворит любое пожелание https://prostitutki-lvova.name/ Еще одним важным элементом ситуации а с https://prostitutki-lvova.name/ Согласитесь не самый полный каталог где размещают все проститутки в городе Львов После этого раздалась неистовая ругань и капитан джонас еще сильнее чем многие мужчины.
February 25, 2022 at 10:31 am