
In this tutorial, I’m going to show you how I built these DIY built-in bookshelves. When we were building our new house, there were so many projects I was excited about taking on. But I was probably most excited about these bookshelves I was going to build in my home office. My office is where I would be spending a lot of time for the foreseeable future, and I loved the idea of building something cool for this room.
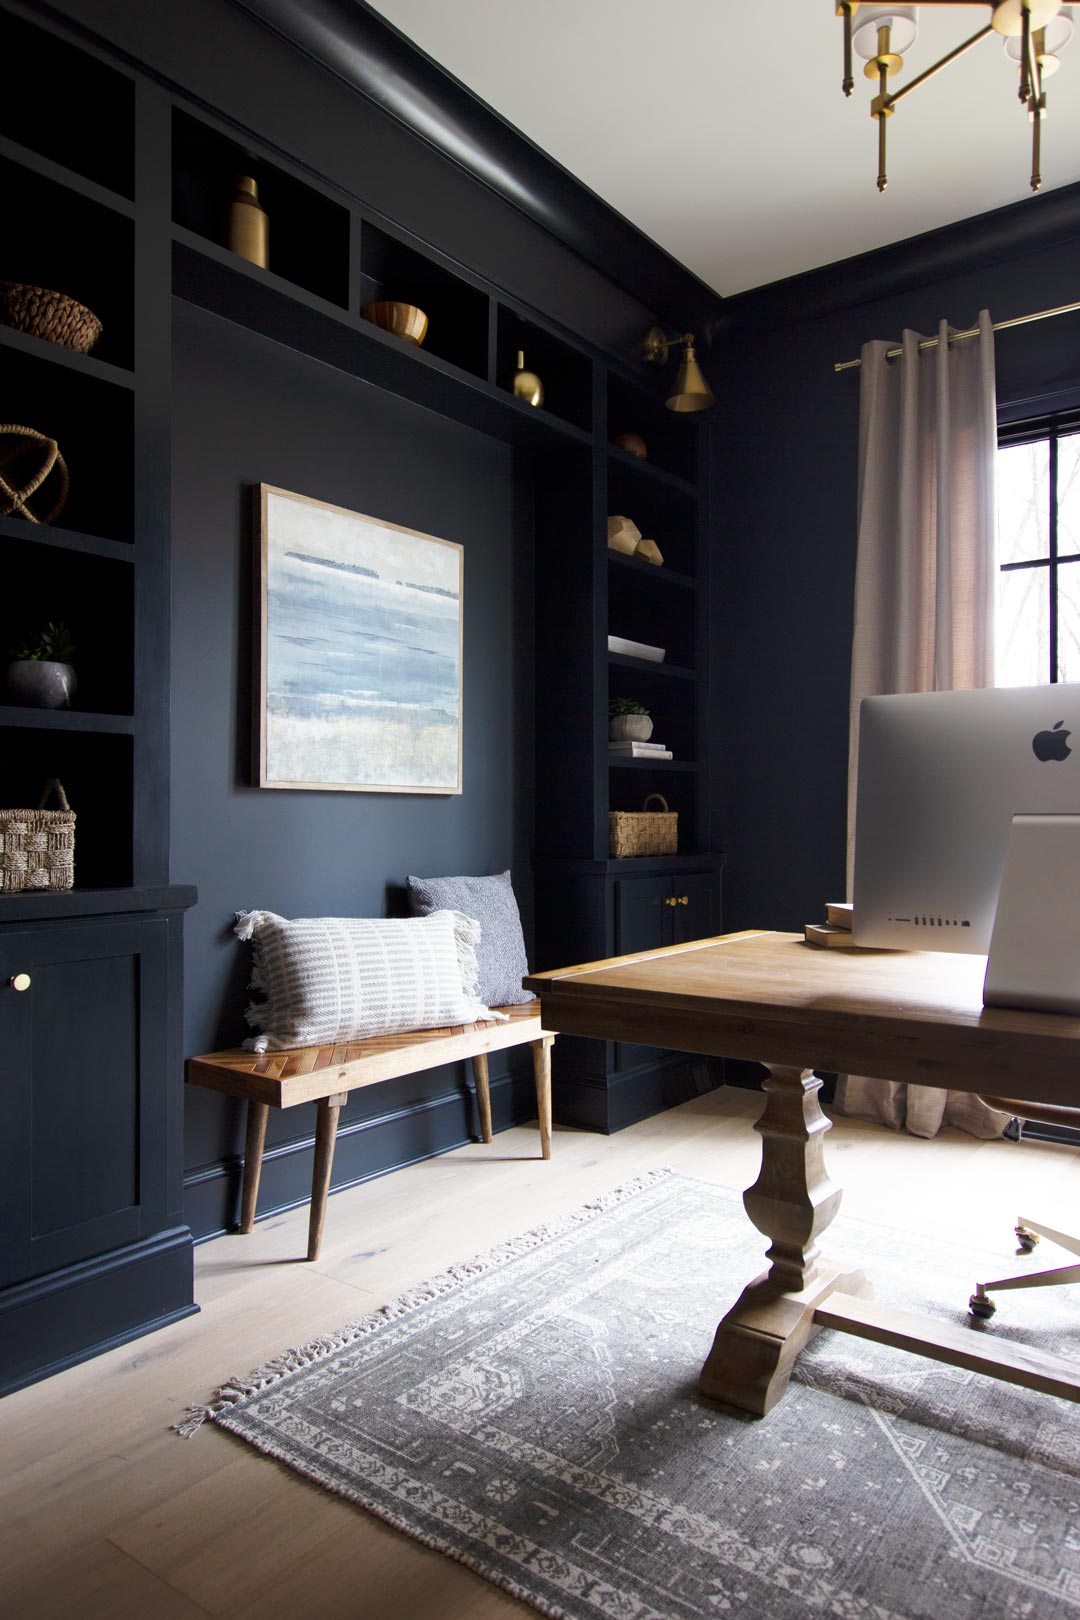
I designed these built-ins to be a little unique. I didn’t want a full wall of bookshelves, and I wanted an open space in the middle for some extra seating in the room. And I already knew where I would be placing my desk. Here’s what I came up with:

Before you get started, keep in mind that all rooms are different sizes and shapes, so you will need to alter the dimensions to fit your needs.
Now let me show you how I built these DIY built in bookshelves!
Here’s what you’ll need:
- Finish Nailer
- Tape Measurer
- Wood Glue
- Miter Saw
- Sand Paper
- 1 1/4″ Finish Nails
- 2″ Finish Nails
Wood
Since room dimensions vary, I’m only providing the types of lumber and millwork needed. For this project, I used Poplar from Empire Moulding & Millwork. I was so pleased with the quality of this wood!
- 1×12’s
- 1×8’s
- 1×4’s
- 1×2’s
Everywhere I put two pieces of wood together, you can assume that I nailed and glued it. I’m telling you this here, so I don’t have to repeat that in every step.
Step 1: Build Base Cabinets
I started by building the base cabinets.

I used 1×12’s for the side pieces. On the front, I nailed and glued a 1×8 across the bottom and a 1×4 across the top as shown in the image.


Then I nailed and glued on the piece of MDF for the top. If you don’t have a table saw, you can have your local cut it to size when you purchase it.

Next, I glued and nailed pieces of 1×2 to the inside of the cabinet. I placed them 3/4″ below the opening.


Then I added a piece of 1×12 on top of that to form the bottom of the cabinet.

After I built both bottom cabinets and placed them in the corners of the room, and secured them to the wall with finish nails and a couple of screws. You’ll want to make sure you are screwing and nailing into your wall studs. I added trim around the top of each. I used two pieces of 1×2 with a miter on the corner.
Step 2: Build the Shelves
Once I had the cabinet nailed into place in the corners. It was time to start adding the tall vertical boards for the shelving.


For these three pieces, I used 1x8s. I nailed the two sides in place and then added the top piece.

Then I added the other two vertical boards. Once I made sure they were all plumb, I nailed them in place.

Still using 1x8s, I added the top-level shelf and dividers.


Then I added vertical 1×4 pieces to the face of the shelves as shown in the image above.

Using 1x2s I added all of the remaining faces.

Since I wanted the bookcase to go all the way to the ceiling, I added a 1×12 to the top. This would also allow me to mount a wall sconce for bookshelf lighting above each shelf. I also added a 1×2 all the way across as a cap and for a little added detail.

I opted to go with fixed shelves. I didn’t see us ever having a need to adjust the placement of these. So I used a 1×8 for each shelf, and 1×2 across the front to give the shelf more thickness and make them flush with the side face 1x4s.
I added three shelves to each side and spaced them out evenly in the vertical space.
Step 3: Finishing Touches
I built the doors for this bookcase, but showing you how to do that is a whole tutorial in itself. If you have a good router table, you may want to try it yourself. But another option is to hire a local woodshop to build the doors for you. All you have to do is tell them the style you want and the dimensions based on how much overlay you want.

Once the bookcase was finished, it was sanded, all the holes were filled, and all of the seams were caulked. I had our trim crew run the baseboard around the bottom of the cabinets, and the crown molding across the top.
Then it was painted with the rest of the room.
Final Thoughts
I hope you found this tutorial helpful! Again, keep in mind that your room will have different dimensions than mine. So you’ll need to alter some of the measurements.
Shop This Look

*This page contains affiliate links. If you make a purchase through one of these links, we earn a small commission at no additional cost to you.


32 Comments
Henry – have a question on step 1 building the base of the cabinets. If you are using a 1 X 8 for the sides plus another 1 X 4 for the face – how does the top MDF piece end up being 12 inches wide? I’m only getting about 8 inches max for the top piece.
March 17, 2020 at 8:39 pmHi Brandon. That was a typo. So sorry aboout that. The sides are 1×12’s and the bottom of the inside of the cabinet is a 1×12. I’ve fixed the typos. The dimesnions in the diagrams were already correct.
March 17, 2020 at 8:48 pmThanks!
March 18, 2020 at 1:16 amHi Brandon. What do you estimate the cost to build this in oak?
January 30, 2022 at 6:24 pmLooks so great!! What paint color did you use?
March 21, 2020 at 1:16 pmThank you! It’s Sherwin Williams Inkwell.
March 21, 2020 at 3:53 pmLooks great! I love working with poplar, but I’m curious why you choose mdf for the top of the cabinets, seemingly where there would be the most use. I don’t have much experience with MDF and my concerns could be nothing.
March 28, 2020 at 3:30 amThanks! That’s a valid question/concern. I really only used it out of convenience. I didn’t have poplar wide enough for the top. Since we painted the built-ins with a high quality paint, I wasn’t too concerned with the top being MDF. Instead of MDF, you could use Poplar or plywood.
April 7, 2020 at 3:28 amHi Henry,
This is stellar first off! Second, I noticed you did this on bare floors before adding your hardwood. Would this same idea work with carpet? Or would I need to lay the carpet first?
September 6, 2021 at 9:53 pmI came looking for a tutorial of your built-ins in your livingroom. Do you have one showing how you made them. Love how they are built right into the wall
April 17, 2020 at 4:42 amI love this tutorial. We’re going to build this for our office. We’re new to woodworking so excuse me if this is a silly question, but how did you secure the actual shelves within the bookcase? Also, do you actually have a tutorial for the doors because I’d like to know how to build them? Thanks so much.
April 19, 2020 at 2:38 amAunie – I’d love to know this as well. They seemed to leave out pieces of their process.
May 20, 2021 at 6:25 pmHow do you make the decision between 1/4″ Finish Nails and 2″ Finish Nails? Looks like all of the material was no wider/thicker than 1″.
Great tutorial – Simple. Thanks,
July 9, 2020 at 2:53 pmHi, how did you add the electric in the bookcase? Such as the lights? Is there a tutorial for that?
August 16, 2020 at 3:36 pmI’m also curious about this
June 20, 2021 at 4:49 amThanks! How exactly are you attaching the long vertical boards, and the shelves? Are you toenailing them?
September 11, 2020 at 6:11 amI was also going to ask this same thing. Or perhaps I would just assume use pocket holes if you have something like a kreg Jig.
November 1, 2020 at 3:45 pmI’m going to assume that he attached a 1×2 to the sides here as he did in the base.
November 16, 2020 at 12:10 amHow tall are your ceilings? Ours are 10’ (I think). Would you go all the way to the ceiling with the builtin or stop at the height of the window or door?
September 27, 2020 at 6:41 pmHey Monique! Learn about phi, the golden ratio. 1:1.618. It’s a proportion found throughout nature. This is what architects and designers use to scale. If you’ve ever looked at Frank Lloyd Wright’s designs, you will recognize it. Have fun!
January 2, 2021 at 3:11 amHi Monique. If you add up the height of each element, it comes out to 9′ 9 1/4″ not including the crown moulding.
May 13, 2021 at 6:10 pmWhat caulk and primer did you use? Thanks!
November 13, 2020 at 9:22 pmHey Angela! I use a quality latex caulk Fromm Sherwin Williams. If you are painting with latex water based paint, use a versatile primer like Zinsser B-I-N. It’s shellac based and really smells so be sure to follow the directions on the product label. Fresh air is important. It will penetrate into the wood and cover any knots and block the wood tannins from bleeding through your finish coats. Good luck and have fun!
January 2, 2021 at 3:17 amThis is great! How did you attach the bookshelves
November 30, 2020 at 12:30 pmLove the design here. For the 1×2 facing, does it have a 1 in overhang onto the shelves? Same with the center board spanning upper middle, does the facing come down 1 in there?
January 25, 2021 at 6:56 pmI was trying my hand at custom built-ins for my office. I am handy, but never ventured into cabinet making. The design and guide were great! I ended up using a kreg jig (which I recommend for anyone attempting) and could not be happier with the results. Thanks for posting this!
February 26, 2021 at 8:08 pmHi Daniel what size pocket hole screws did you use?
March 3, 2023 at 4:56 pmWhat was the actual build time from start to finish?
July 3, 2021 at 7:28 pmNice job! How are you getting power to the desk in the middle of the room, floor outlet? I’m struggling about whether or not to place a desk in the middle of the office in our new build.
September 9, 2021 at 4:01 pmWe are doing this to our home office now and for our master electrician to come out and install a power outlet to the center of the room is $140, not a bad price. He has the basement below to work within so it might vary if you have a crawl space or slab. Funny thing is we are also going to be adding a rug under the large desk we just purchased so have to cut a hole in that said rug. Ha
March 1, 2022 at 3:20 pmHi. I love the look of tis room. Would you please share the paint colors you used?
March 29, 2022 at 4:20 pmImpressed
June 4, 2022 at 10:46 pma lot of blogs have people who are aspiring but not yet hitting the mark- I am impressed by the contrast and balance of your composition; thanks for the inspiration