
During the building process, we have been able to save tens of thousands of dollars by doing some of the projects ourselves. Although, I have to say, Henry is quite the handy man, most of these projects didn’t require an expert. These labor saving areas mostly just required some research, tools, and hard working hours. If you are one of these people who love doing projects and are willing to put in some sweat equity, you will allow yourself to save some money!
Considering we have self contracted all of our builds, we have been able to save in several areas, but I’m going to touch on four areas where we saved the most.
Painting
Im not going to say that I love painting, because I seriously hate it! But, if you have ever hired a painter to paint your entire home you know how costly this can be. On a 3,500-4,000 square foot home this could save you up to $15,000 dollars or maybe even more.

The painting process normally takes us around two weeks with Henry and I both doing the painting. I would suggest using a commercial grade sprayer. This will be much quicker and give you a better finish. The great thing about a new construction is that not much has to be taped off. The only thing you really have to worry about is the windows, the flooring will be installed after the painting.
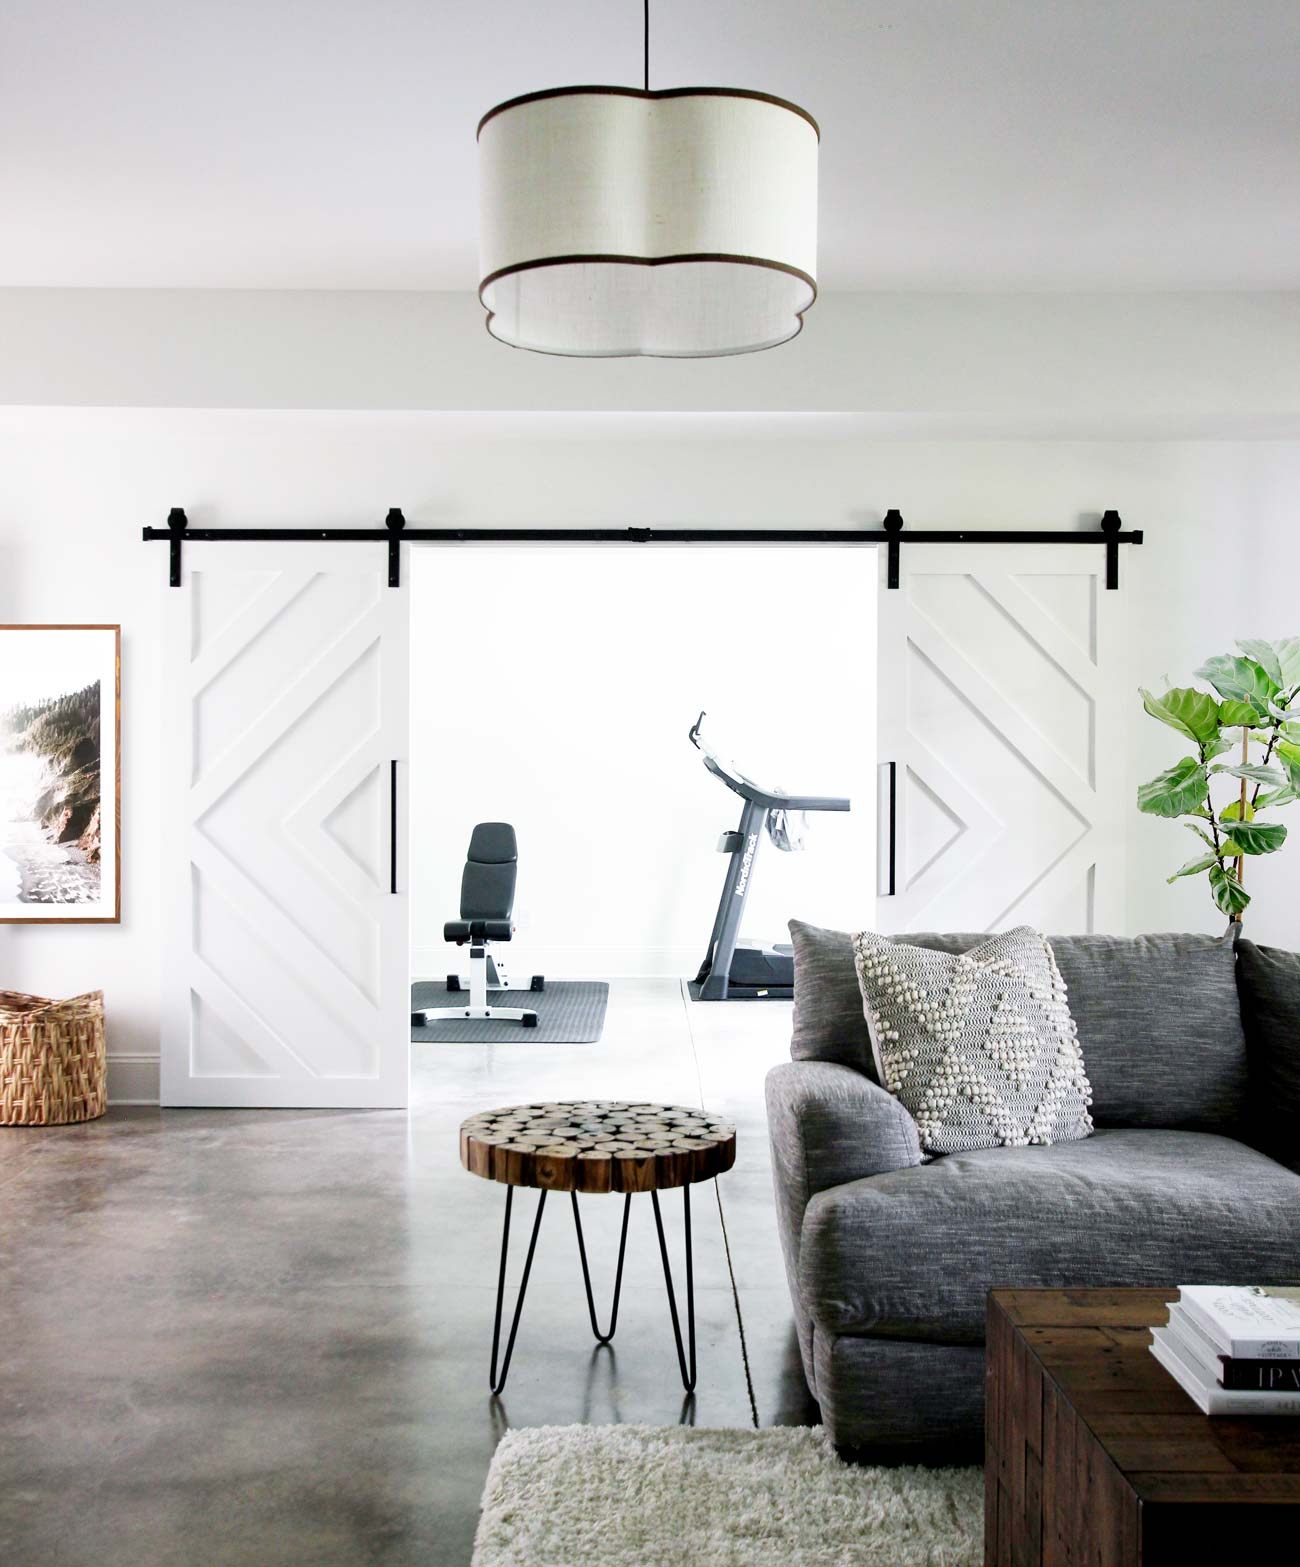
For our current farmhouse, we used one color, Sherwin Williams Creamy for both walls and ceiling. This made it so much easier since no cutting in was required. Although, we did use a satin finish on the trim, doors, and shiplap.
The sprayer can also be used to spray the doors and trim outside before installing.
Also, if you are doing black on the interior of your windows, you can save a bunch of money by ordering them unfinished and painting them yourself.
Installing Hardwood Flooring
Installing hardwood flooring may take a little more research on how to install, but it is definitely doable. With he help of Youtube and a DIY tutorial, anyone can accomplish this project. This will be a savings of around $12,000 or more according to the square footage. Keep in mind the right tools should be used for a quicker, more efficient, and proper install.

We have put the hardwood down in every single one of our builds. Crazy enough, this is something Henry really enjoys. We have installed both solid hardwood and engineered, engineered being the easiest out of the two.
Working as a team is the best setup for installing hardwood yourself. Henry normally does the cutting and nailing, and I rack or lay out the boards. We each had a job to do and it made it much easier. Of course, I personally think I had the hardest and most important job with making sure each piece was different in length and color variation. This is a very important step in the installation process.
Tiling
Doing your own tile work can be a a great savings also. This is probably another area you will want to Youtube and find some good tutorials on if you don’t have any experience. But, just like installing hardwood, it is something that is very doable for anyone and will save you some money.

If you don’t feel like a pro after watching Youtube videos, reading some tutorials, and maybe trying it out, you could always hire out the more complicated tile projects. For example, start off by doing an easier project like the kitchen backsplash, and hire out your tile shower.
We normally keep our tile very simple in design because that’s our style. We love choosing something that is simple and timeless. This in return makes it much easier to DIY. Another great point is that the more you do, the better you become at it.
Keep in mind that laying tile is a time consuming project. You will want to allow plenty of time within the build for this project. If you are not a patient person, it may not be the DIY you will want to commit to. It never goes fast enough for me, so it would not be a project I would want to do. That’s why I let Henry do it.
Landscaping
Landscaping can be very expensive! So it’s a good thing that Henry and I enjoy landscaping.
Henry normally sketches out the landscaping and how it will look. We then try and research some shrubs and plants that will work best in our area and climate. As you know, we like keeping it simple and very clean.

After we purchase the shrubs and plants, we bring them home for the hard work. Henry edges and plants, while I go behind him mulching. Its definitely a team effort!
So, if you want to save yourself thousands of dollars, I highly recommend DIYing some of the projects I have mentioned. They are all very doable with some research. I feel like if we can do them, most anyone can. We have completed several other projects on our builds, but I think the four listed above are the most doable and where you can save the most money!


12 Comments
Do you have diy instructions for the porch swing? I’d love to have one.
February 23, 2019 at 10:06 pmThanks, Randi
We do. Here is the link: https://plankandpillow.com/how-to-build-a-porch-swing-bed/
February 25, 2019 at 9:33 pmWhere is your couch from?
March 1, 2019 at 12:43 amWe bought it at a local furniture store, but it is made by Franklin Corporation.
March 1, 2019 at 8:32 pmYou said you creamy for the wall and ceiling color what finish is it in
March 5, 2019 at 1:06 amThe walls and ceiling are flat and the trim and doors are satin.
March 5, 2019 at 3:08 pmHi Henry
March 8, 2019 at 2:21 amWe are going to be installing shiplap on our walls and fireplace . How wide do you think we should cut the boards ? I’m was thinking 9″ with 1/8 space in between and since the fireplace is on the same wall , I was thinking of cutting the boards 5.5 ” to make a contrast . Our walls are only 8′ tall so that is why I’m starting to re-consider the 9″ . Perhaps a 7″ might be better ? Thanks in advance !
Hi Colette. I think 9 might be a little too wide. Our boards are 7inch, but the actually part showing is 6.5. I think that would be a good width for your ceiling height. I also think I would keep the same width going around your fireplace. That way you will have a nice continuous flow. Otherwise the gaps won’t line up where the wall meets the fireplace. Hope that helps!
March 9, 2019 at 2:20 pmDid you use real shiplap or have seven inch planks cut? Any advice on that?
March 17, 2019 at 2:48 amWhat we used is technically called nickel gap board. It has a tongue and a groove, but once it’s up, it looks like shiplap. You should be able to get it at your local building supply store.
March 18, 2019 at 7:23 pmI’m curious about the relative cost of the metal stair railing versus conventional wooding railing/bannisters? I think I read somewhere that you said it was actually less expensive. really love the look!
June 21, 2019 at 2:16 amHey Chris! Sorry for the super slow response. Somehow we overlooked your comment. Yes, it did end up being cheaper. The railing you see in our foyer was about $3k.
September 3, 2019 at 10:31 pm