
Room Sources: Industrial Wall Sconce
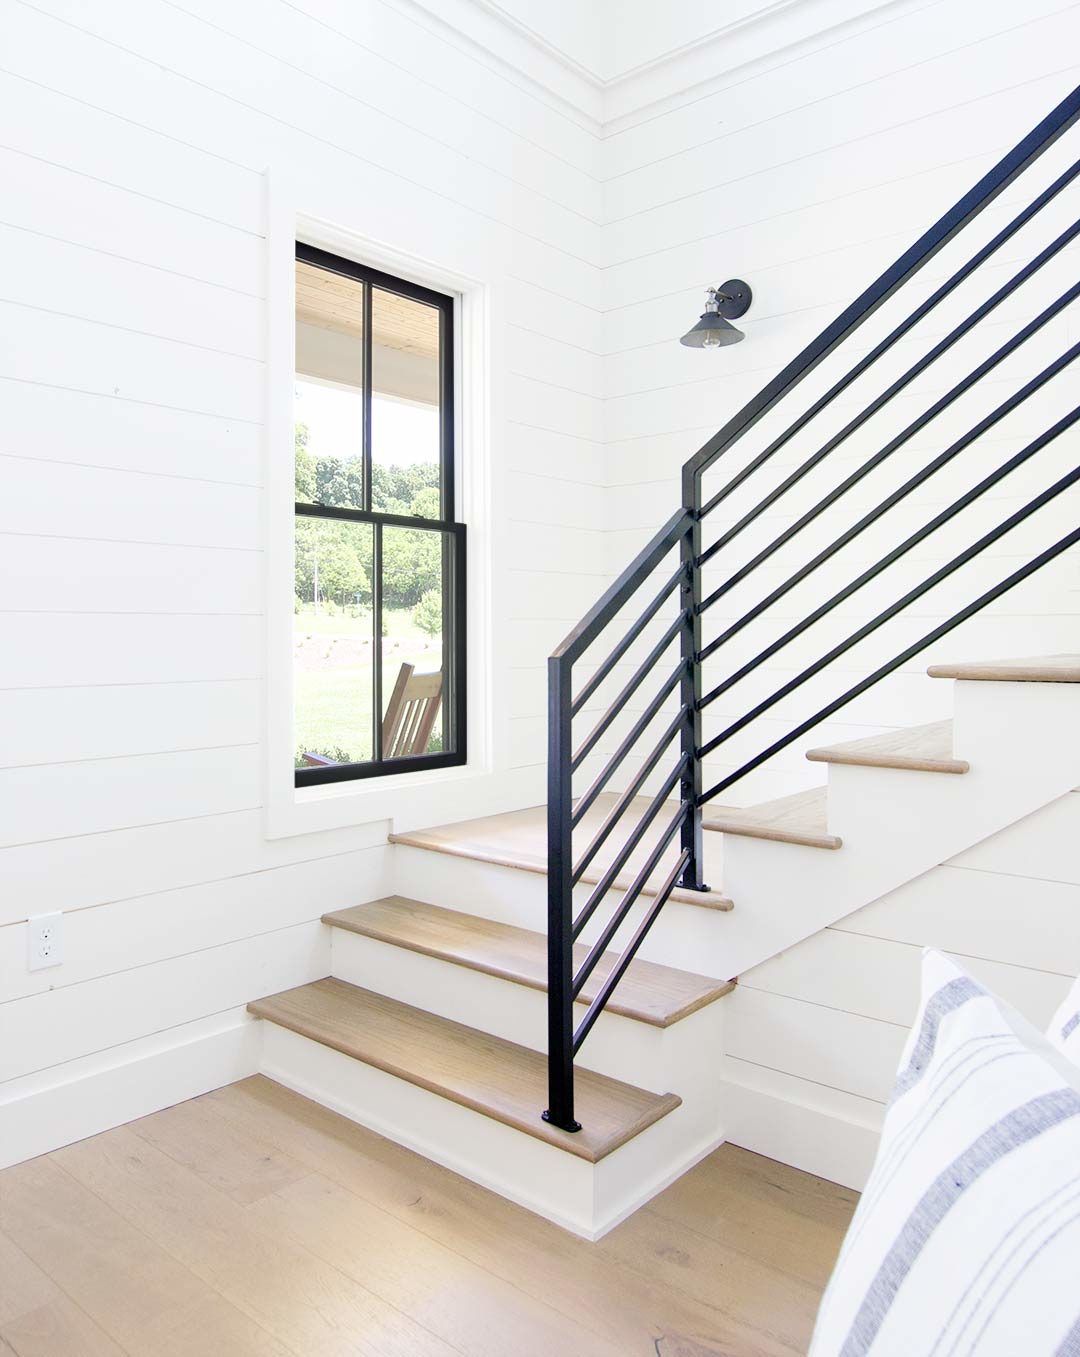
Black windows have been, and continue to be, on the rise in popularity. They are very aesthetically pleasing and add so much visually to the exterior and interior of the home. But they can be a bit pricey compared to standard white windows.
Henry and I decided to splurge and go with black windows a few years ago on our modern farmhouse. Although we wanted both exterior and interior black, we found out very quickly we would save thousands by only ordering black on the exterior and leaving the inside unfinished wood. But this meant that they would have to be painted on site.
It seemed like a daunting task but turned out to not be that bad at all.

Whether you are installing brand new windows on a new construction as we did, or you want to give your current windows a fresh modern look with, here is an easy technique you can use to paint your windows black.
What You’ll Need
This job doesn’t require a lot of tools and materials. The most obvious tool is a good paintbrush, but maybe the most important is the large putty knife. With it, there is no need for painters tape. It makes getting a nice clean straight edge super easy!
- Tinted Primer
- Black Paint
- 2″ Brush
- Large Putty Knife
- Drill or screwdriver
- Damp cloth
We used a 2″ paintbrush. This size is excellent for cutting in and painting smaller areas.
The real hero of this project is the putty knife. I will go into detail later about this.
You will also need a damp small rag and of course the paint. We used a tinted Kiltz for the primer and a black oil-based cabinet and trim paint for the final coat.
Remove Locks
After setting up, you will need to remove all locks from the window. This can be done with a screwdriver or a drill. More than likely the screws will have phillips heads, so you’ll need a phillips bit.
It’s a good idea to put all of the locks and screws in bag or container to make sure they don’t get lost, misplaced, or thrown out by mistake.
Clean the Surface
After you remove the locks and hardware, and before applying any paint, it’s very important to clean the surface of the window frames with a damp cloth to remove any debris and dust. This will help you get a smooth finish.

Apply the Primer
If you are painting double-hung windows, you’ll want to paint the top sash first. To do this, release the bottom sash and let it lay down against the bottom of the window to get it out of the way.
Now slide the top sash down about an inch so you can see the entire frame.
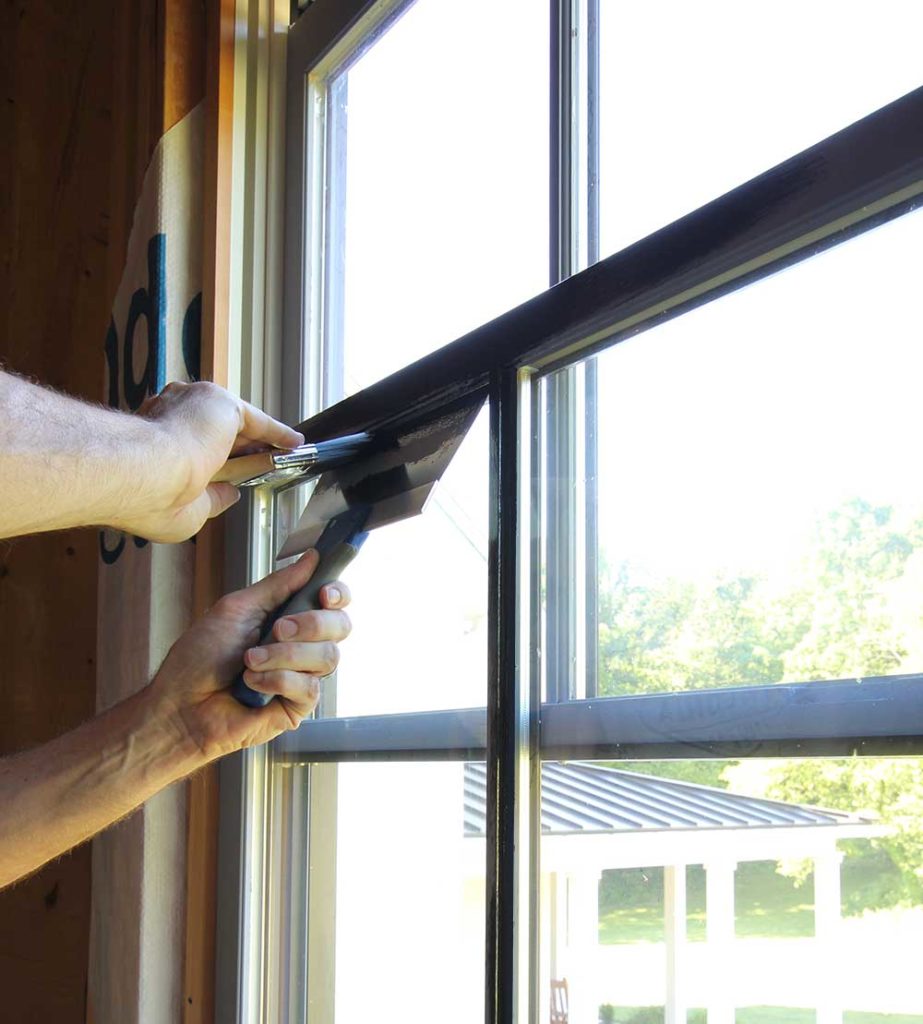
Now you will need to apply a good coat of primer. This is where the putty knife will become extremely handy. With it, there is no need to painters tape, which I have never been fond of.

Hold the edge of the putty knife firmly with one hand at an angle where the grille or frame meets the glass. With your other hand, paint the grille or frame all the way down to the edge of the putty knife. Then move the putty knife to the next section and continue painting.
When you pull the putty knife away, make sure you don’t scrape it against the area you just painted.
This technique seems like a no brainer, but when I first learned how to do this, it was a complete game-changer for achieving a super straight edge.
Once you finish applying the primer to the top sash, fold the bottom sash and up and apply a coat of primer to it.
Leave both sashes slightly open while the primer coat drys. This will prevent rubbing or sticking to the seals.
Apply the Final Paint
The next day is the fun part and when the transformation really takes place. It’s time for the black paint to be applied. Brush on the paint using the same technique as you did with the primer.
After you’re finished, you will need to allow another 24 hours to dry. You may want to repeat with a second coat if you see primer showing through. But for our windows, we only needed to apply one coat of black paint.
Put Locks Back On
The last step is to put the locks back on, and enjoy your new black windows!
This process can take a few days depending on how many windows you are painting but will save you thousands of dollars on new windows, or it can completely transform your current white windows!
*This page contains affiliate links. If you make a purchase through one of these links, we earn a small commission at no additional cost to you.

11 Comments
Curious if this would work for vinyl windows? I know you said yours were unfinished wood. They look great! Would have never guessed you DIYed them. Will you do the same in your new build or is it a surprise?! I’m excited to follow along!
May 22, 2019 at 1:43 amI’m wondering the exact same thing! 🤞🏼
May 22, 2019 at 4:19 pmHello Andrea! Thank you so much for the kind words and following along. I am so sorry to say we have no experience with painting vinyl windows, however I did come across this article: https://www.brightgreendoor.com/painting-vinyl-windows-black/ Ours actually turned out really good and you can’t tell they were not factory painted.
May 22, 2019 at 6:44 pmMeetoo!
May 28, 2020 at 7:53 pmWe are in the midst of a build and plan on doing this. Can I ask which paint you used and finish (matte/satin/gloss?)
December 16, 2019 at 7:28 pmThank you!
Brandi, Did you ever find out if you should use (matte/satin/gloss) I am doing my window now but we’re not crazy about the gloss sheen.
April 2, 2020 at 4:05 pmWhat paint color did you use?
February 6, 2020 at 4:44 pmYes, really interested to know which particular paint and color you used, it’s covered in the pic
February 25, 2020 at 3:13 amInterested in how one would paint the locks instead of replacing them which would be costly. Thanks
August 25, 2020 at 9:27 pmBeautiful!! Could you have used a black stain instead of paint?
February 6, 2021 at 9:50 amI’m curious how you edged painting on the side of the frame (not the window panes). I see from the pics how you used the putty knife on the window pane edges, but getting paint off the glass is easy with a straight edge razor. In fact, I just freehanded on the glass edges. I had ALLOT of trouble painting on the wood trim edges and made a number of boo boos (and I’ll tell you, trying to wipe black paint off weathered white trim wasn’t easy and I was more successful letting it try and picking/scraping the black boo boos off). Any insight you have on doing the trim edges is appreciated. Thanks and nice work.
May 21, 2021 at 1:26 am