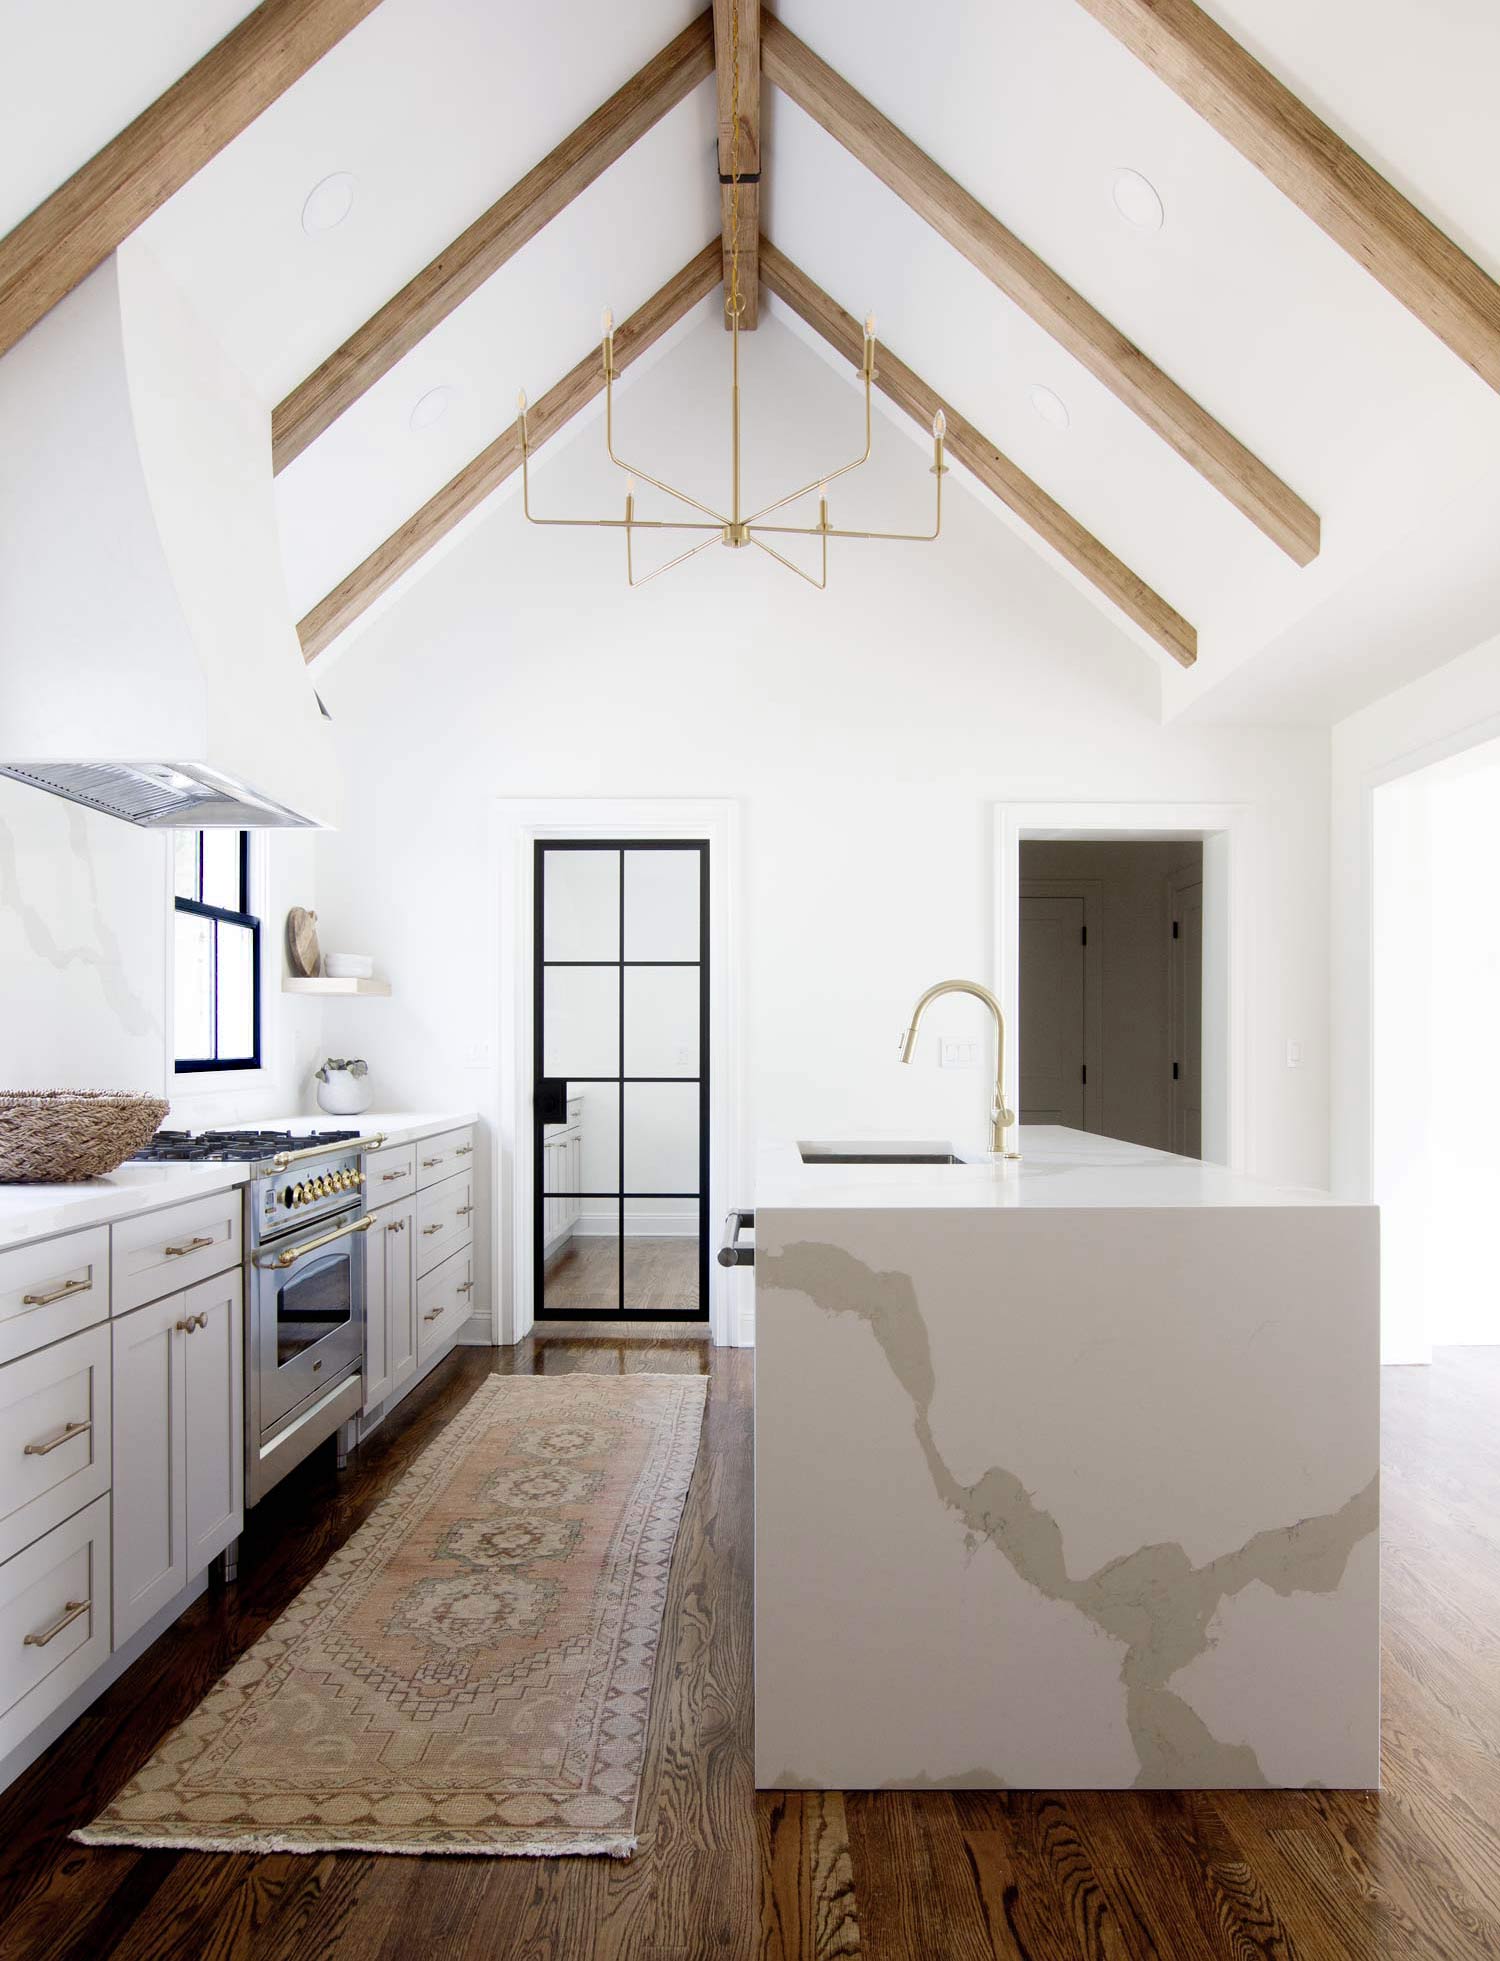
We’ve always been big fans of vaulted ceiling beams, especially in a kitchen. This is why we installed them in our kitchen and in the flip house. There are several different approaches you can take when doing vaulted ceiling beams, from the design to the type of beams you use. For both of these kitchens, we decided to do wood box beams. They make installation much easier since they are so much lighter than solid wood beams. The ones in our kitchen we built on-site, while the ones in the flip house were premade.
In this tutorial, I’m going to share with you where we got the premade box beams, the tools I used, and how I installed them on the vaulted ceiling.
Tools & Materials
- Wood Box Beams
- Tape Measure
- Pencil
- 3″ Wood Screws
- Finish Nailer with 2″ Finish Nails
- Miter Saw
- Drill with 1/4″ bit
- Stainable Wood Filler
- Wood Stain
Step 1: Determine Layout of Beams
The first thing I did was determine how many beams I would need for the vaulted ceiling in the kitchen and how they would be spaced out. It’s important to come up with a beam count and spacing that doesn’t create a cramped look on the ceiling. In other words, you don’t want to try and use too many beams. But you also want to use enough that the space looks filled and not too empty.
I used an application called Sketchup to create a mockup of the kitchen. This allowed me to play around with the spacing and number of beams until we were happy with the layout. In this kitchen, we had a 3′ wide plaster hood that extended all the way to the ceiling. I decided it would look best if one beam hugged the hood on each side. This helped determine the spacing between the rest of the beams.

I also decided to run one beam along the ridge of the vault, and have the other beams butt into it.
For the ridge beam, I used two Rustic Ambrosia Maple 5×5″ beams from Ornamental Decorative Millwork, and for the rest, I used Rustic Ambrosia Maple 3×5″ beams.
Step 2: Stain the Beams
These beams can be stained. I used Minwax Aged Oak, which is a nice medium brown that doesn’t have any red tones.

Step 3: Measure and Mark Beam Placements
Since I knew there would be one beam on each side of the hood. I marked those two first. To make sure they were running straight, I measure off of the wall to where the bottom of the beam would hit. Then I used that same measurement to mark where the top of the beam would hit. Once I had the first two beams marked. I measured off of those using my spacing value of 3′ and marked the two outer beams. I repeated this for the other side of the vaulted ceiling.
Step 4: Install Mounting Plate
These beams come with a mounting plate, that fastens to the framing in the ceiling or the drywall. I personally don’t like the idea of relying on toggle bolts to hold up the beams. So I added blocking to the framing before our drywall was installed. If you’re able to do this, I would highly recommend it.
I started with the ridge beam. I trimmed the mounting plate based on the length of the room using a miter saw.
I used a drill and 1/4″ bit to drill pilot holes for the screws. Then I started a screw in each of the holes. Using my impact driver, I fastened the mounting place onto the ceiling making sure it was aligned with the marks I made in step 2.
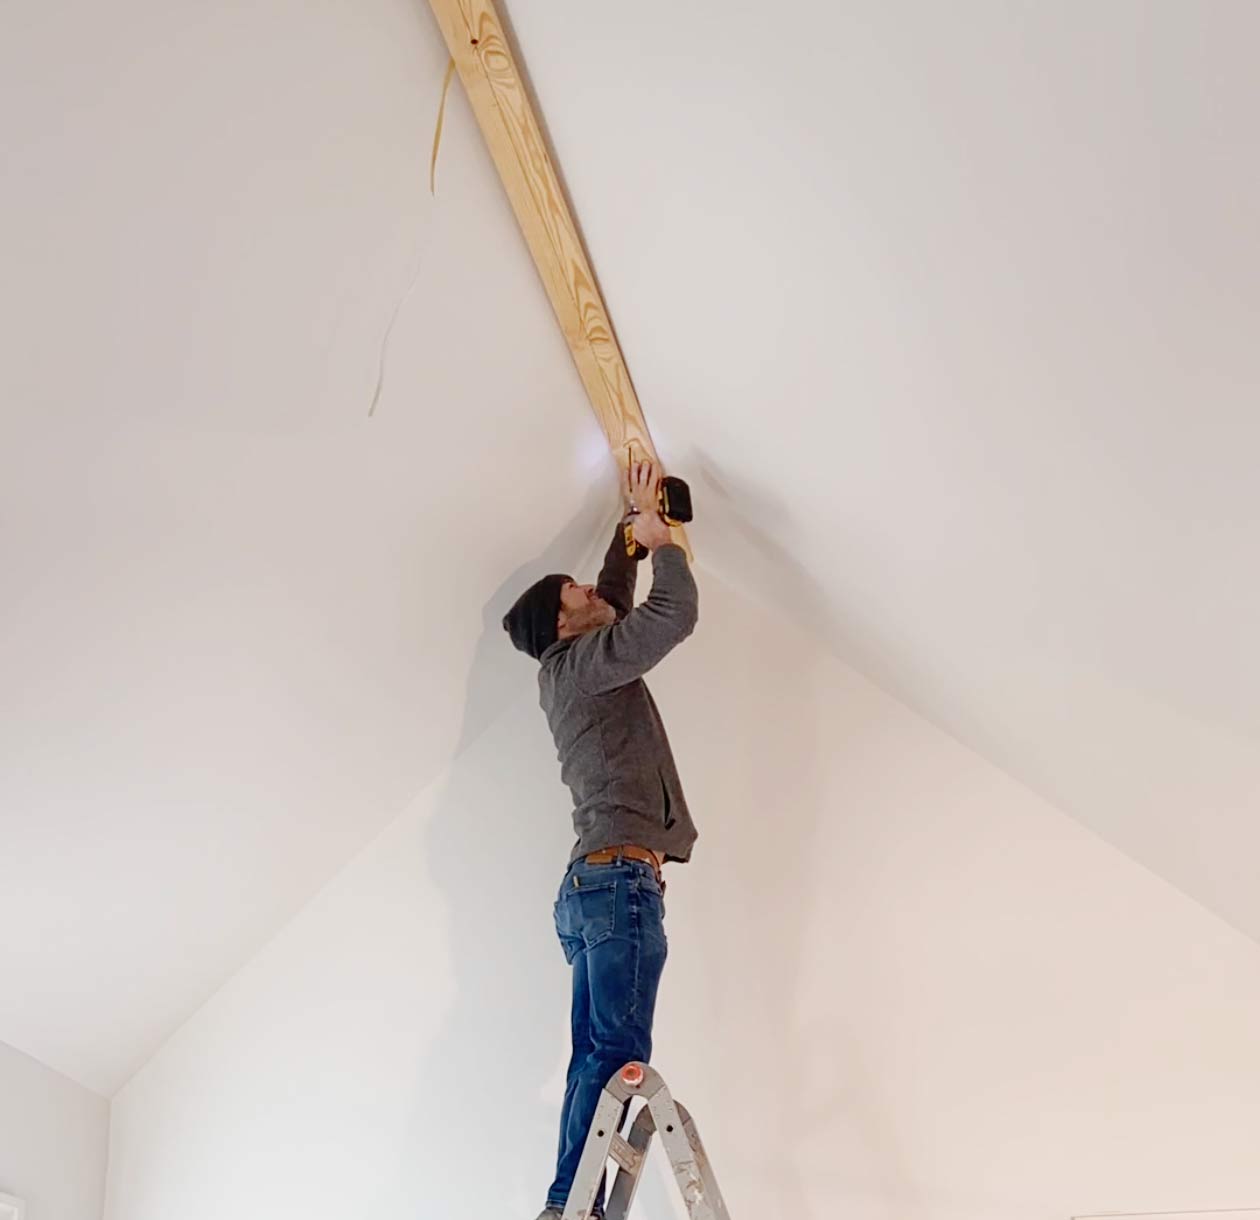
Step 5: Install Beam
Once I had the mounting plate securely installed, I cut the wood beam to the correct length and slid it onto the plate. Then I used a finish nailer to fasten it in place by nailing into the side of the beam about 1/2 inch from where it touched the ceiling.
For the ridge beam, I only had to make straight cuts, but for the vertical beams, I used the angle of the ceiling to determine the angle of the cuts on each end of the beam.

Tip: Remember, it’s better to cut too long than too short.
I repeated steps 4 and 5 for each beam.
Step 6: Fill Holes and Touch Up
Once I installed all of the beams, I used stainable wood filler to fill any holes. And touched up those areas with more stain.


No Comments