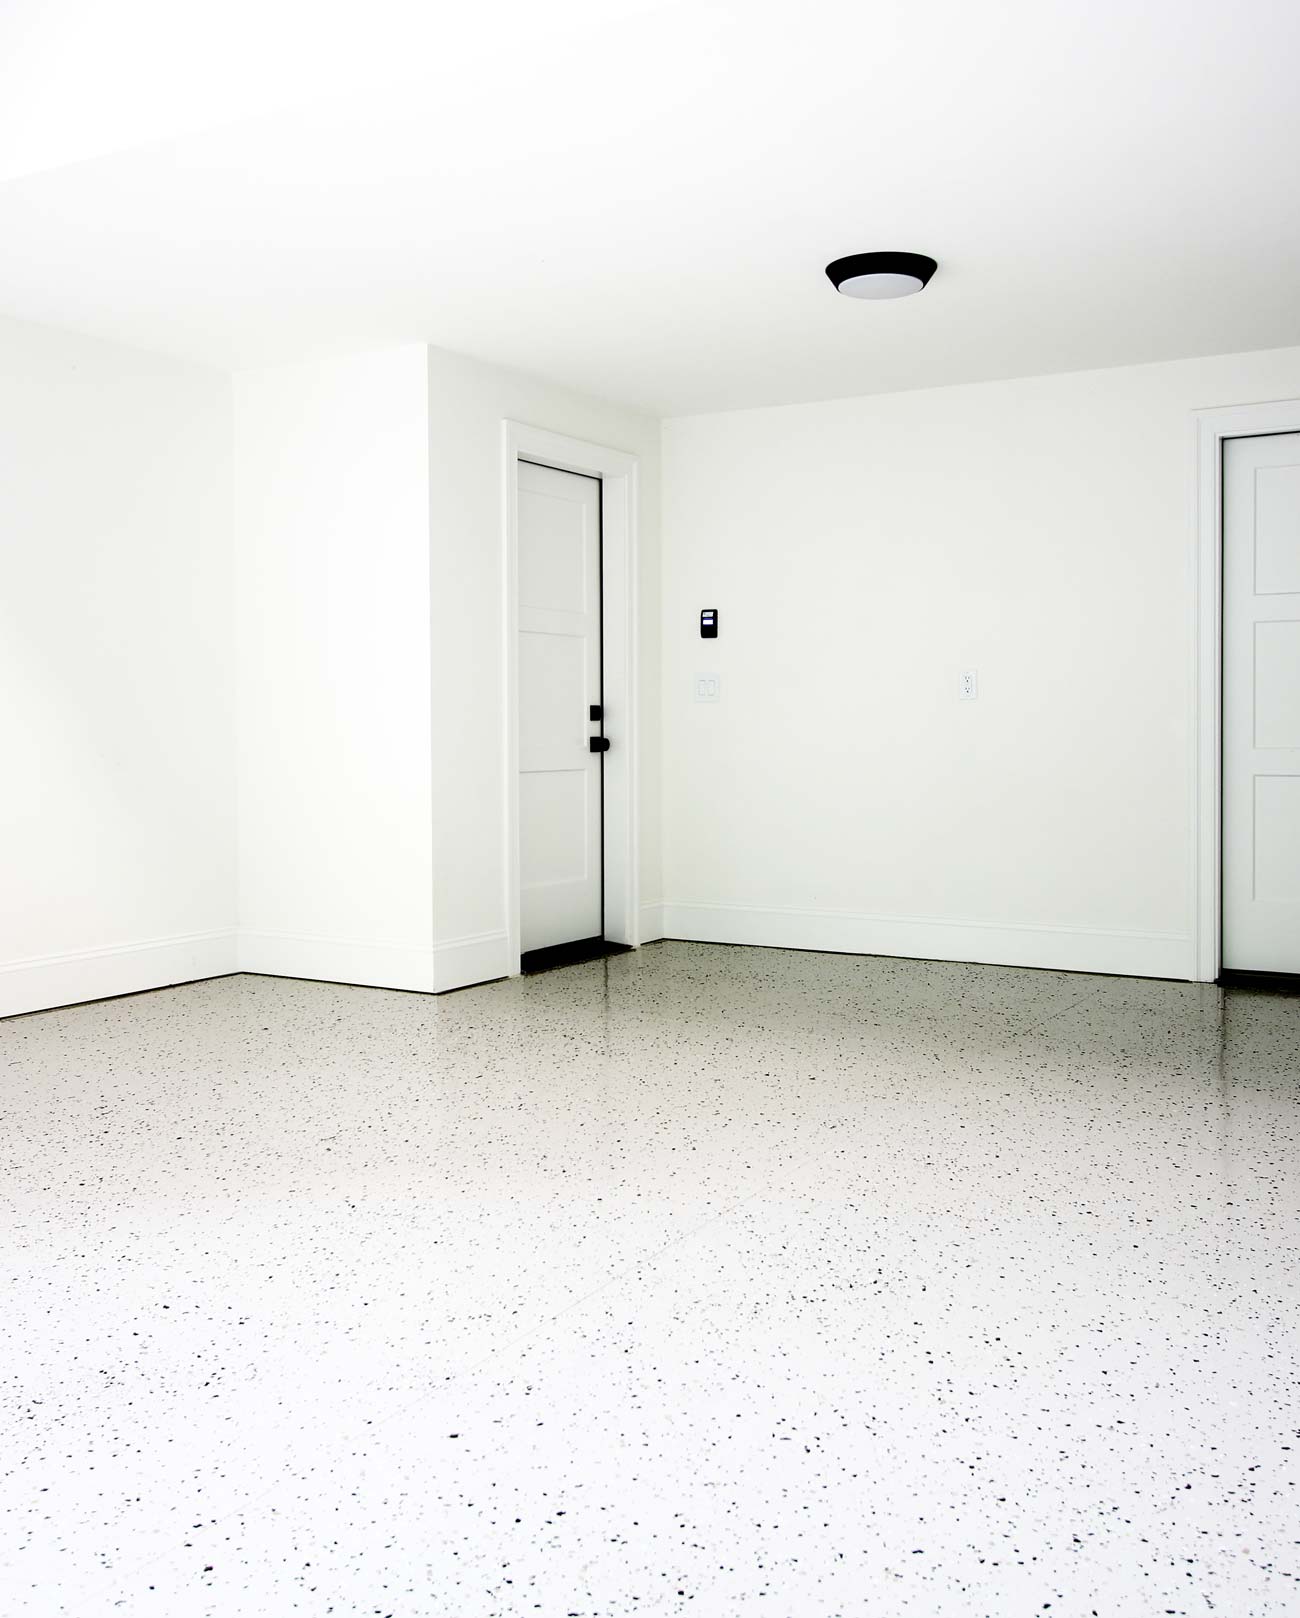
Painting epoxy on your garage floor is a great way to give your garage a more finished look. And it’s definitely something you can do yourself. But before you take on this project, there are two extremely important aspects that should not be overlooked: Do the proper prep work to the concrete and use high-quality commercial-grade epoxy.
In this tutorial, I’m going to show you exactly how I put epoxy on my garage floor that is holding up great and will be for many years to come!
Step 1: Scrape Floor
The first step in the cleaning process is to scrape off any dried paint, caulk, or anything else that might be stuck to the concrete floor. To do this, I used a putty knife and a scraper. I started in the back corner of the garage and worked my way across and then back until I had removed all stuck on materials from the floor.

Then I used a shop vac to vacuum up all of the loose debris.
Step 2: Degrease Concrete
The next step in the cleaning process is to decrease the floor. If you want, you can do this only where it needs it. To find out where it needs to be degreased, spray water on the floor. Anywhere that you see the water bead up, you know that area needs to be degreased.
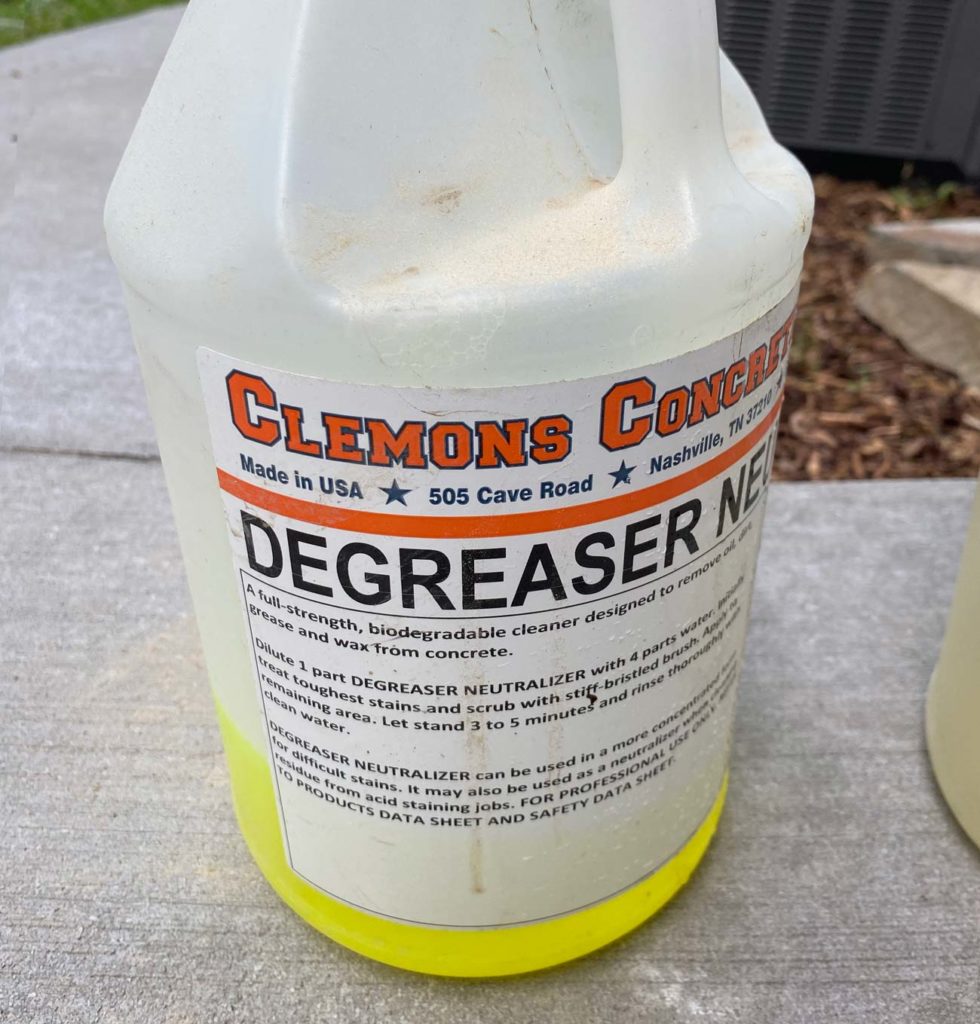
But I chose to degrease the whole floor, just to be safe. I used a degreaser that I found at a local masonry store. As per the instructions, I mixed 1 part solution with 4 parts water. Then I poured it onto the concrete floor in different spots and scrubbed it with a stiff-bristled broom.
After I had scrubbed the entire floor, I rinsed it off with a water hose and let it dry.
Step 3: Etch the Concrete
Etching is an important step in prepping concrete for any type of stain or coating. Most etching solutions contain some type of acid that opens up the pores of the concrete. This allows the coating to form a strong bond with the surface.
I used an etch and clean solution, which is the same stuff I used when I acid stained our basement floors. This particular solution calls for a 1 to 4 parts water mixture. I added the solution and water to a sprayer and sprayed the entire floor. If done correctly, you should see the solution start to bubble when it makes contact with the concrete.

I used the same stiff-bristled broom to scrub the solution into the concrete. Then I let it sit for about 15 minutes.
After that, I rinsed the concrete thoroughly, and let it dry overnight. It’s very important to make sure the concrete is very dry before proceeding with the epoxy. You don’t want to trap any moisture under the epoxy. This could lead to bubbles in your coating and possibly cause it to start peeling.
Step 4: Fill Joints
More than likely your garage floor will have several joints in it. These are usually created with a saw shortly after the concrete has been set up.
I used a self-leveling filler to fill in all of these joints. You find this at your local home improvement store, usually in the masonry aisle.

It’s surprising how much is required to fill the joints. I used about 5 tubes. It’s pretty simple though. I used a caulk gun and slowly worked my way down each joint until they were filled.
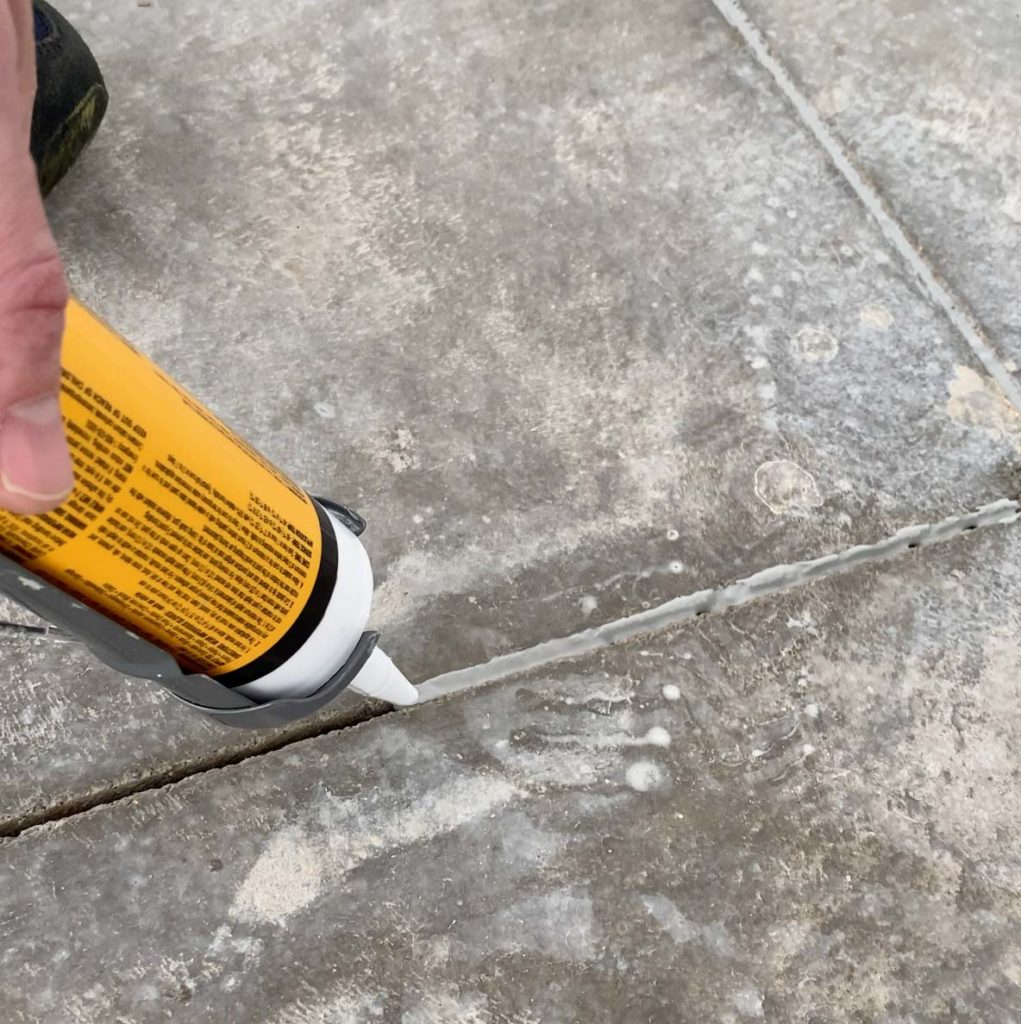
After all of the joints were filled, I let them dry for a couple of hours.
Step 5: Mix the Epoxy (Sherwin Williams Armorseal 1000)
As I mentioned above, we went with a commercial-grade epoxy. It’s called Armorseal 1000 and we got it from our local Sherwin Williams store.

It comes in two parts, each in a 1 gallon can. Part A is what they can tint with any Sherwin Williams color you want, and Part B is the hardener.

I poured both into a five-gallon bucket and mixed thoroughly for 3 minutes.
Step 6: Mask Walls and Baseboards
To be on the safe side, I used a roll of paper to mask off the baseboard and lower part of the wall. This protected them from any epoxy that might splatter during the application.
I used painter’s tape to hold it in place.
I also used painter’s tape to mask the edge of the garage floor that’s directly under the garage door when it’s shut. This gave me a clean line where the epoxy finish ended.
Step 7: Paint the Garage Floor with Epoxy
Brooke used a 3-inch paintbrush to apply the epoxy all the way around the perimeter of the garage. She covered about 3-4 inches out from the baseboard. That way I didn’t have to try and get really close to the wall.

I let her get a head start, then I started rolling the epoxy onto the floor. I used the same method I would as I wast painting a wall. It does go on pretty thick. So I made sure to roll it out thoroughly for a nice and even coat.

I was worried about having enough to cover the entire floor, but one coat is all it required.
Our basement garage is about 400 sq ft and we had about 1/4 of the epoxy left over.
Step 8: Sprinkle the Chips
There are plenty of places you can buy the paint chips but we grabbed ours from Lowes. They only have two color options there, but luckily one was just what we were wanting.
The chips we chose were a mixture of white, black, and tan, which we thought would go well with the color we went with for the epoxy.
Obviously, you don’t want to walk on the wet epoxy with regular shoes on. This would leave footprints everywhere. So I borrowed these homemade cleat-like soles from my brother-in-law.

I strapped them onto my feet and was able to walk on the fresh epoxy without leaving prints.
They also make special shoe attachments that you can purchase for these types of jobs.

When applying the paint chips, the goal is to get an even distribution. I grabbed a small amount (not a handful), and tossed them up into the air above the area I was wanting to cover. This lets gravity work its magic. As they fell, they spread out in the air and landed in an even, yet random coverage.
I repeated this across the entire floor. Then added more to areas that looked a little bare.
The next day, I used a broom to lightly sweep the floor to remove any loose paint chips.
Step 9: Apply a Clear Coat
After I applied the paint chips, I let the floor dry for about 24 hours. Then I rolled on a layer of Armorseal Rexane I. This adds a clear protective coat to the epoxy for an added layer of protection.
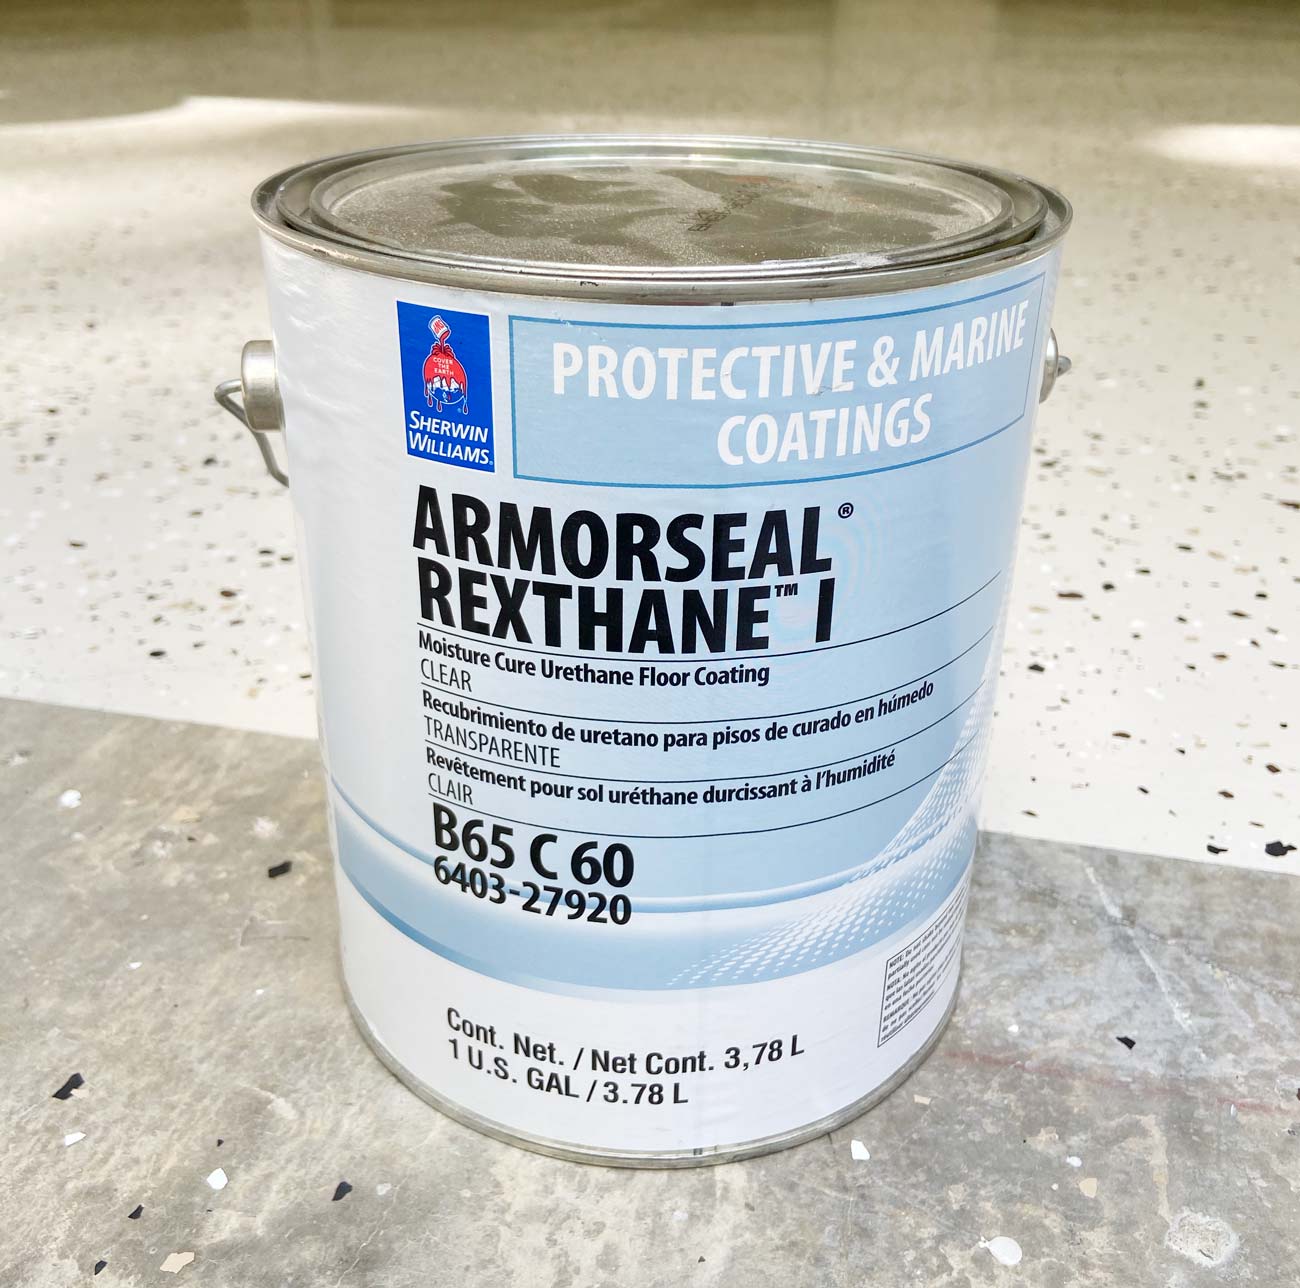

I applied the clear coat with a paintbrush all the way around the permitter. Then rolled on the rest.
The End Result
The epoxy coating totally transformed our basement garage. I’m very happy that we decided to do it. Here are a couple of shots of the finished floor.


40 Comments
Hello, I was wondering why you said it could not be done on a floor previously sealed? If I had a garage floor that looked like it used to have epoxy floors (little bit reminents on concrete floor) does that mean it was previously sealed so I can’t do this process? Do you know what I can do to re-poxy the floor?
May 20, 2020 at 5:25 amHi Angie. The epoxy needs to be able to bond/stick to the concrete. Any kind of sealer or previous coating (especially one that is peeling up) will prevent the eopxy from doing this. You need to thoroughly remove any previous sealer from the concrete.
May 20, 2020 at 2:32 pmAre the chips just decorative or do they serve a purpose?
May 21, 2020 at 1:36 pmLove this! Im definitely doing this for my husbands garage. How much time did you wait before you walked and parked your jeep?
May 28, 2020 at 5:01 amHi Taylor. The chips are decorative, but they also add some texture to the floor so it isnt’s slippery.
May 21, 2020 at 3:25 pmwhat color did you mix in to the epoxy?
May 22, 2020 at 10:33 pmWe went with Sherwin Williams Bungalow Beige.
May 25, 2020 at 12:50 pmI did this in my own garage but actually have been trying to figure out if it works for outdoor concrete spaces?
June 16, 2020 at 4:25 pmI’m not sure if there is an outdoors epoxy product. I know that the product we used indicates that is for indoors only.
June 16, 2020 at 9:25 pmYes it does!
March 7, 2022 at 1:44 amHi, what type of baseboards are those in your garage? Did you purchase them yourself or they were already there? I have a concrete area there that I need to cover but need a baseboard big enough
July 3, 2020 at 6:13 pmWow, looks like it came out really well from those pictures. I’d make sure to not only scrape the concrete, but sand or grind it too. Although from your pictures it looks like scraping did the trick, so kudos!
July 21, 2020 at 5:01 pmHi Henry, urgent request: Did you use the Bungalow Beige in https://www.sherwin-williams.com/homeowners/color/find-and-explore-colors/paint-colors-by-family/SW7511-bungalow-beige.
The shade shown in Sherwin Williams page above is darker than what you show in blog.
Just wanted to confirm if this is all due to lighting conditions and not actually a different shade. I am copying your design by working with a contractor and need confirmation asap.
I will share how the project goes. Thank you.
August 11, 2020 at 12:55 amHi Adam. Yes, that’s the color we chose. You’re right. It did come out several shades lighter. I assume that’s all they could tint the epoxy. I did have it mixed at the Sherwin Williams store.
August 11, 2020 at 12:15 pmThank you so much Henry for your prompt confirmation. I chose this and it is coming out exactly like yours. Application is ongoing now as I type. I will upload pics and share a link when done.
August 11, 2020 at 6:41 pmAdam, thanks for asking this question!! I was wondering the same. Hope your project turned out great.
September 3, 2020 at 10:11 pmHi looks lovely. Where did you find the thick baseboards?
August 19, 2020 at 2:43 pmHello Miraina! We actually got them from Empire Moulding Company which supplies to Lowes.
September 1, 2020 at 7:00 pmWish i could do it myself, was just quoted 2200
August 31, 2020 at 11:20 pmHello Dee! Yes, it does save lots!
September 1, 2020 at 6:59 pmHow much did it cost you to complete this project?
March 31, 2021 at 2:03 pmThis may seem like a newbie question, but what is a good way to rinse off the degreaser without harming the base of the walls? We are renovating our garage this weekend and drywalling everything. We need to do the floors as well but are going to wait until the rest of the work is done. I want to avoid hurting the base of the drywall boards when rinsing the degreaser.
September 18, 2020 at 4:15 pmCan you link the paint flakes you used? Love how this turned out!
September 30, 2020 at 10:56 pmI think these are the paint flecks that were mentioned, as these have the same colors mentioned in the guide. https://www.lowes.com/pd/Rust-Oleum-Tan-Interior-Exterior-Concrete-Additive-Actual-Net-Contents-16-oz/1000201253
January 2, 2021 at 2:23 amHow long after the floor is done before you can park your car
November 21, 2020 at 10:57 pmI would recommend 48 hours, but I think we waited about 3 days just to be safe. 🙂
January 2, 2021 at 3:46 pmHi, can provide an update on how your floors are holding up?! We are getting ready to do the same to our garage and Ive poured so many hours into researching the different kinds of epoxy options. It is just so hard to know which ones are going to last!
Thank you!!
December 29, 2020 at 4:05 pmThe are holding up great! You don’t have to worry about this stuff peeling up. Just make sure you use the products in this tutorial.
January 2, 2021 at 3:47 pmHey guys! How did y’all decide to go with a separate garage on opposite side of house? We are in planning phase of our own home build and this intrigues me. Are y’all happy with your decision? How do y’all utilize the space? Anything you would do different?
Thanks!
January 17, 2021 at 10:17 amMy epoxy won’t cure what could it be and how to fix it thanks
February 3, 2021 at 12:06 pmHow slick is the finished product? People will be wet from a pool going in and out of garage. Afraid of someone slipping and getting hurt.
March 13, 2021 at 3:49 amHave you found the floor to be slippery when your shoes are wet?
April 2, 2021 at 2:47 pmJust like any wet surface, it can be a little slippery. But you can use more flakes to make it less slippery.
August 23, 2021 at 9:15 pmLove this! We did the same colors in our garage!
Could you show what you did with the edge of your garage? Did you stop it at the end of take it down the threshold where it lays underneath the garage door when closed? If you could maybe show some pics or let me know what you did, that would be greatly appreciated!
August 23, 2021 at 7:30 pmI used a piece of painter’s tape to create a straight line right where the garage door hits the concrete. So that’s where I stopped the epoxy. Afther applying the epoxy, I peeled up the tape.
August 23, 2021 at 9:13 pmWhat paint color did you use for the walls in your garage?
March 7, 2022 at 1:49 amHenry, how is this holding up after 2 years?
March 31, 2022 at 3:36 pmThanks for the reminder that joint filling is also one of the things to consider when getting epoxy garage flooring. I’m interested in looking for that kind of service because I want to be able to make my workshop a lot safer. Nonslip flooring would definitely help with that.
June 17, 2022 at 11:56 amhow much did it cost
September 5, 2022 at 7:03 pmHello! Looks stunning. May I ask how many gallons it took for each coat, looks to be a two car garage. Was it one gallon of A+B and one gallon of sealant?
September 30, 2022 at 1:50 am