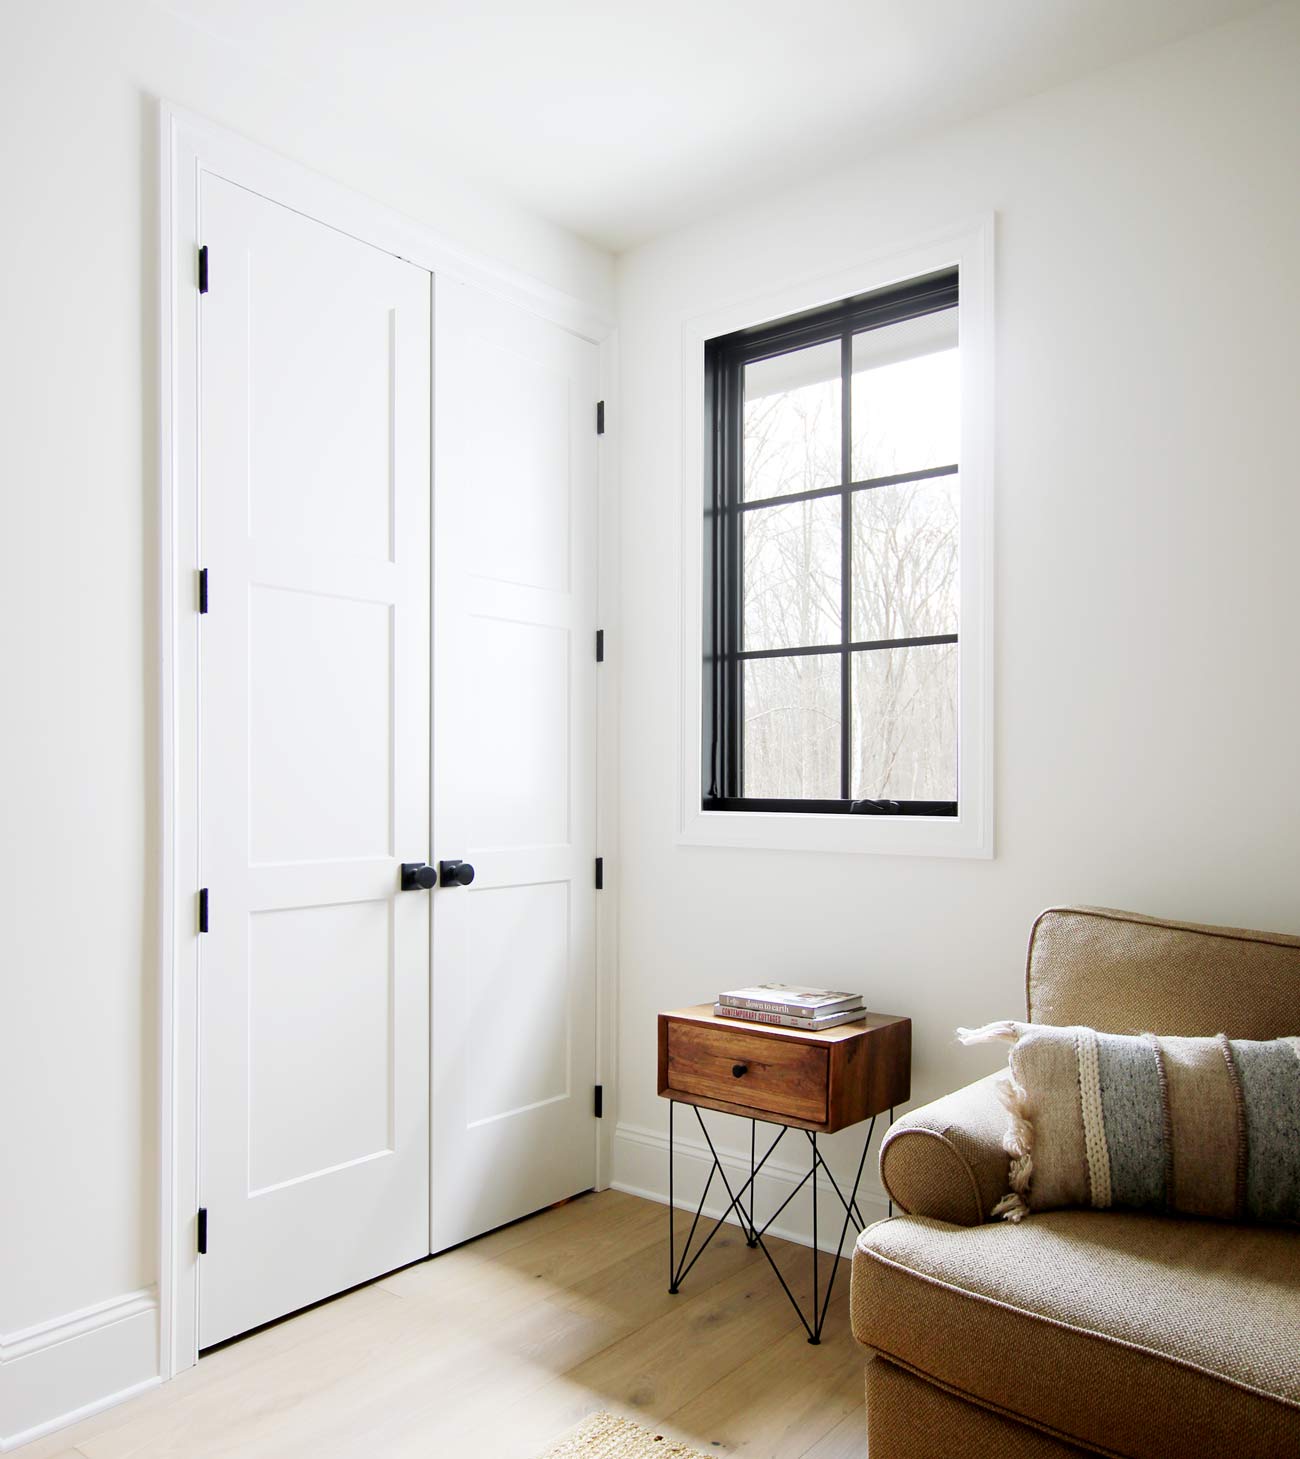
Installing new doors in your home is a great way to update the interior. There are a couple of ways you can do this. You can install new slabs, which is just the door itself. However, this route is more difficult and more time consuming. The other way is to install pre-hung doors. This is by far the easier way, but more expensive since you are paying for the door, the frame, the hinges and the labor involved in hanging the doors.
In this tutorial, I’m going to show you how to install a new interior pre-hung door. We recently finished a bedroom in our basement for our daughter. I framed a closet in the room, which naturally needed a door. So I thought it would be a good opportunity to document the process and share it here.
Tools and Materials
- Angled Finish Nailer
- Miter Saw
- Hammer
- Tape Measure
- 2″ Finish Nails
- Level
Step 1: Remove Shipping Braces from Door
You’re pre-hung door will most likely have braces to keep the doors shut during transport. These are usually just small pieces of wood stapled to the bottom of the door and frame.
Use a hammer to knock the supports free. Be careful not to accidentally strike the door.

There might also be screws or nails on the top of the frame securing the top of the doors. If they are screws, you can use a driver to remove them. If they are nails, use a hammer to pull them out.
Step 2: Insert Door
After you have removed the supports, it’s time to slide the door into the rough opening. Make sure that you have the door turned the right way so that it opens properly. Since I was installing closet doors, they needed to open outwards.

Once I had it positioned correctly, I lifted it into place, making sure the sides and top of the door frame lined up with the 2x4s of the rough opening.
Make sure that the frame is flush with the dry wall.
Step 3: Add Shims
After the door is properly placed into the rough opening, use a level to make sure that the top of the frame is level and that the sides are plumb.
If the door frame is not level, you can use shims to correct this. A shim is a thin wedge shaped piece of wood used to add support or make adjustments like this.
There should be a small gap all the way around the door frame. Add shims to fill in the gaps where needed to level the door.

Start on the hinge side bottom, add them in between the hinges. Use the level again to check the door. If more adjustment is needed, you can drive the shims in further, and add more.
Step 4: Nail Door Frame in Place
Once you finished shimming the door and double checked it with a level, now it’s time to nail it to the studs of the rough opening.

For this, use a finish nailer with 2″ 16ga nails. Shoot the nails through the frame and shims into the studs. Use at least two nails for each shim. This will keep the shim from moving over time. Score the shims and break off the excess.
Step 5: Install Molding
To finish things off, install molding around the door. Fasten the molding to the studs using 2″ finish nails. And of course, you’ll need to fill all the nail holes, caulk all of the cracks, and paint.
As for the door knobs, I wrote a separate tutorial for that.


2 Comments
Your daughter’s closet doors are BEAUTIFUL!!! Would you be willing to share the exact model and where you purchased them?
Have a wonderful day!
March 1, 2021 at 4:17 amThanks for taking the time to share the installation process. That’s a beautiful door.
May 18, 2021 at 3:36 am