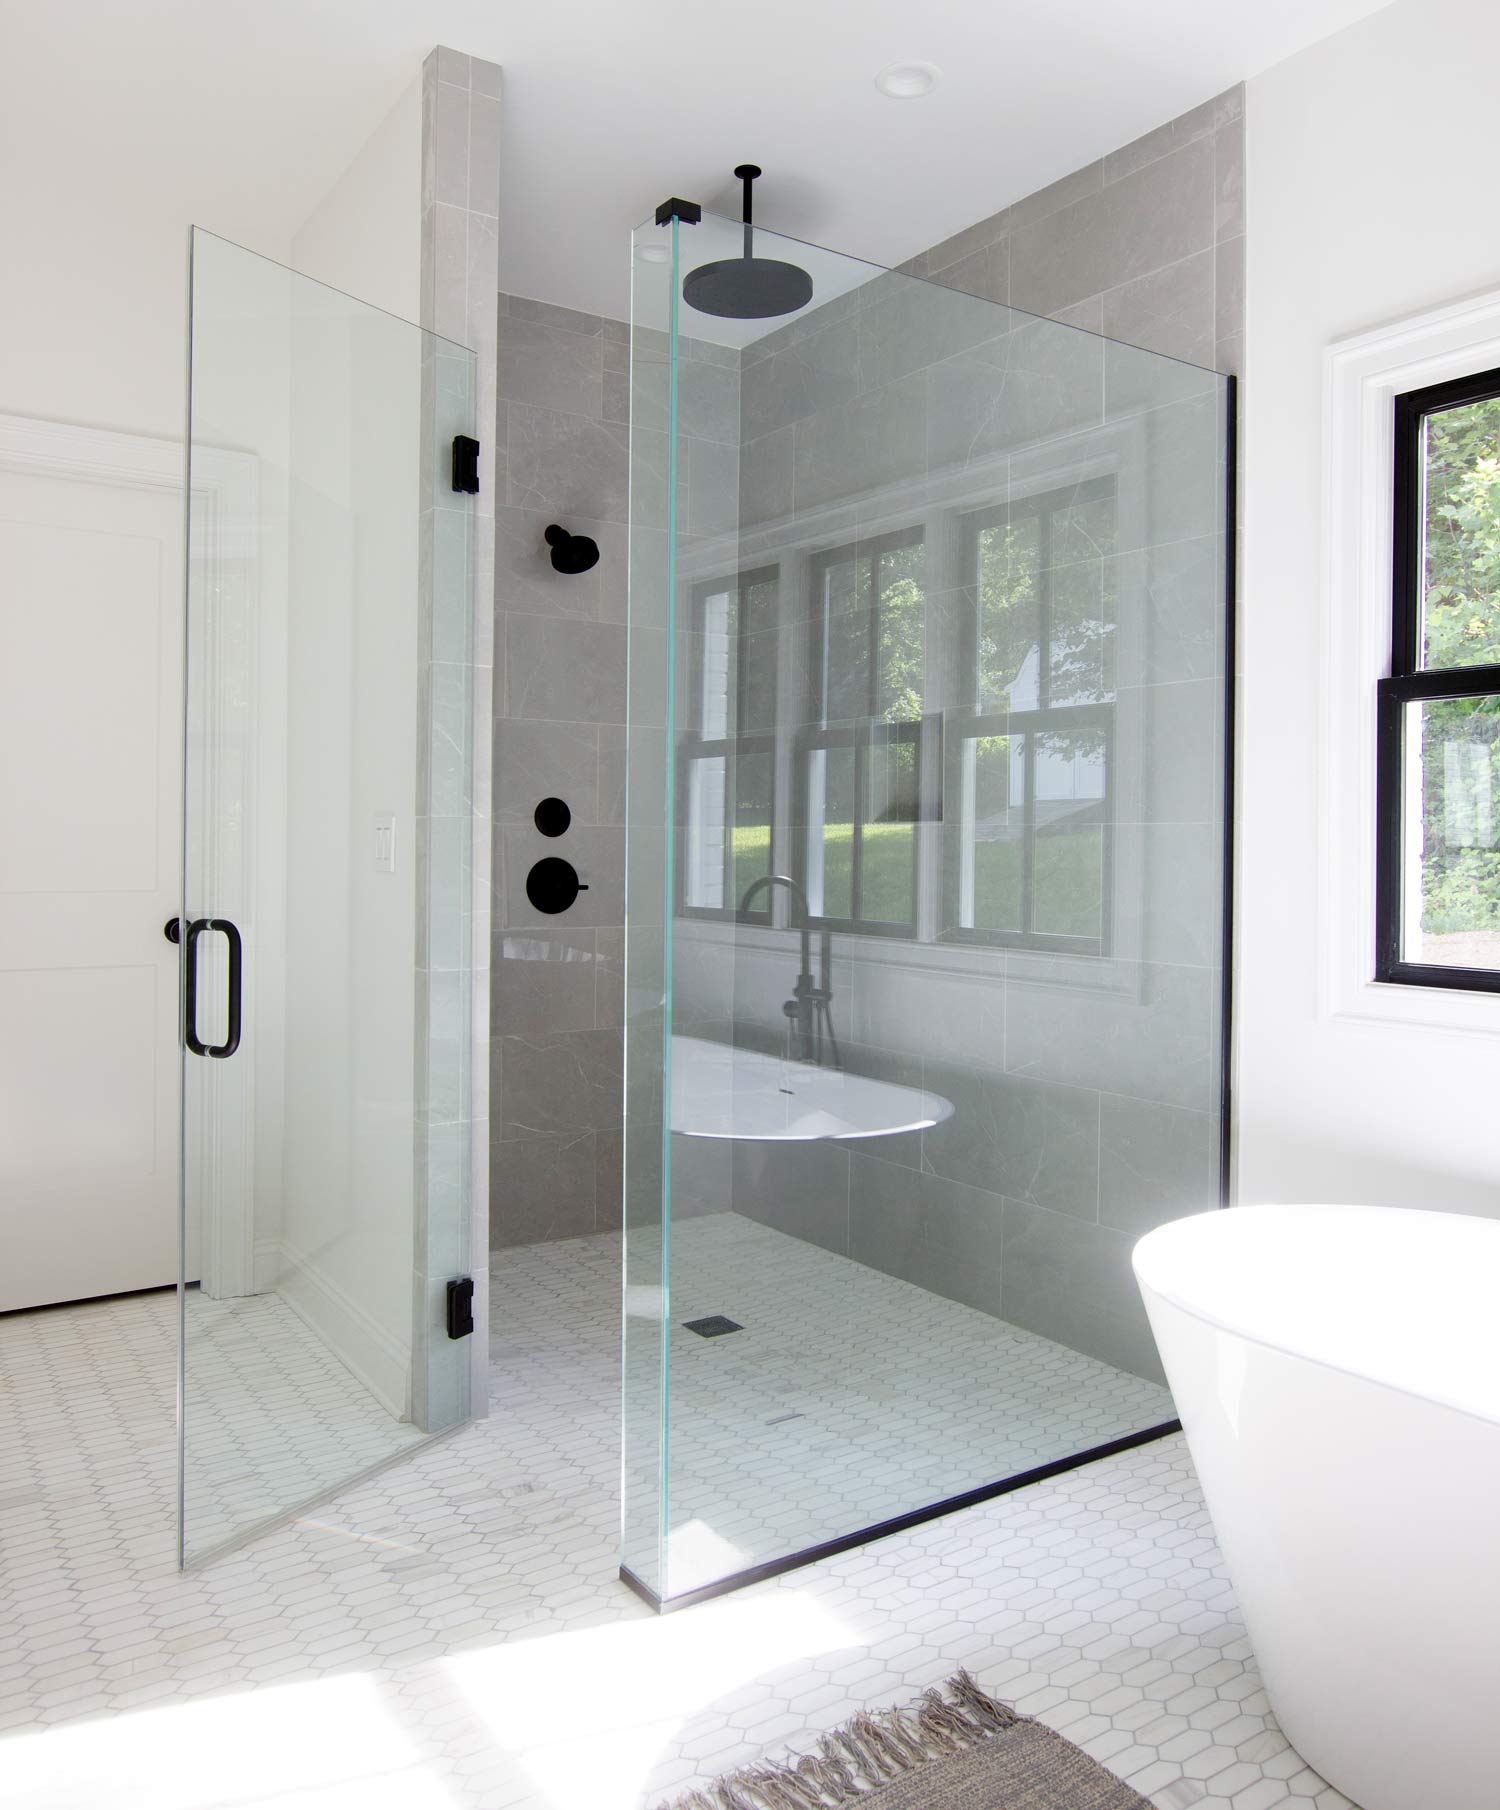
When we built our house over two years ago, one of our must-haves was a curbless shower in our bathroom. We loved it so much that we decided to add one to the flip house master bath. In this tutorial, I’m going to show you exactly how I built it and all the materials and tools you’ll need to do it yourself.
What is a curbless shower?
Most tile showers have a curb that separates the shower floor from the rest of the floor in the bathroom. A curbless shower is simply a shower without a curb. There are several benefits to eliminating the curb. At the top of the list for me is appearance. Not having a curb allows the bathroom floor tile to flow seamlessly into the shower. This creates a sleek and modern look.
The next benefit is that there is no tripping hazard with a curbless shower. You can enter and exit the shower without having to worry about stepping over anything.
And finally, when you eliminate the curb you eliminate an area of the shower that is most likely to develop a leak.
There are several products available for building a curbless shower. I chose to use the TruDEK Classic Base. It’s a pre-sloped base that comes in several different sizes and drains locations. So keep in mind, that this tutorial is geared toward this particular base.
Now let’s get into the tutorial.
Tools & Materials
- Circular Saw
- Impact Driver
- Hammer
- Pry Bar
- Tape Measure
- Pencil
- 2 1/2″ Screws
- Construction Adhesive
- TrueDek Base
- TrueDek Drain
- Tank-10 waterproofing
- Paint Roller
- Paint Brush
- Waterproofing tape
- caulk gun and latex caulk
Step 1: Determine the Location of the Base
I ordered a base that was smaller than the shower floor. This gave me some flexibility with the base placement. But keep in mind that this base can be trimmed with a saw if you need it to be smaller. With the TrueDEK base, it’s a must that you keep the drain hole away from any floor joists. The drain offset design allows you to rotate the base to avoid the joists.


Once I had a position and orientation that worked, I used a pencil to outline the base on the subfloor.
Step 2: Cut the Subfloor
Using a circular saw, I cut out the subfloor on my outline. To finish the cuts in the corners, I used a multitool. After I made the cuts, I had to use a pry bar on a couple of the pieces that were more difficult to pull up.


Step 3: Reinforce the Floor
Around the perimeter of the hole in the subfloor, I added 2×4 blocking. I secured the 2x4s using construction adhesive and screws. I also added blocking around the area where the drain is located.


Step 4: Fasten Pan to the Floor
After I installed all of the 2×4 blocking to the floor joists, I applied construction adhesive everywhere that would make contact with the bottom of the base. I placed the base in the cutout area.


Then I used my impact driver to drive screws through the pre-drilled holes in the base into the floor joists and blocking.
Step 5: Install Backer Board on Floor
After installing the shower base, I installed 1/4″ cement board on the entire bathroom floor and around the shower base. And I installed 1/2″ cement board on the shower walls.


Then in the shower area, I caulked all of the joints and screw holes with latex caulk. It’s important to use latex caulk here vs silicone because the waterproofing material will not stick to silicone.
Step 6: Apply Waterproofing to the Curbless Shower
For the shower waterproofing, I used waterproofing tape and Tank-10. In each corner, I brushed on the Tank-10 and placed the waterproofing membrane so that it stuck in place.


Then I brushed more Tank-10 on top of it. I also did this everywhere there was a joint between two pieces of cement board or cement board and the base. I ended up applying 3 coats of Tank-10.
Step 7: Install the Drain
Installing the TrueDEK drain is a straightforward process, but there are several steps involved. The drain includes these instructions, So I won’t go into detail here.


After I installed the drain, I applied Tank-10 around it and finished applying it to the rest of the shower base.

Step 8: Lay the Tile
After I installed the drain and completed the waterproofing process. I laid the floor tile. I won’t go into details about laying tile as that is a tutorial within itself.
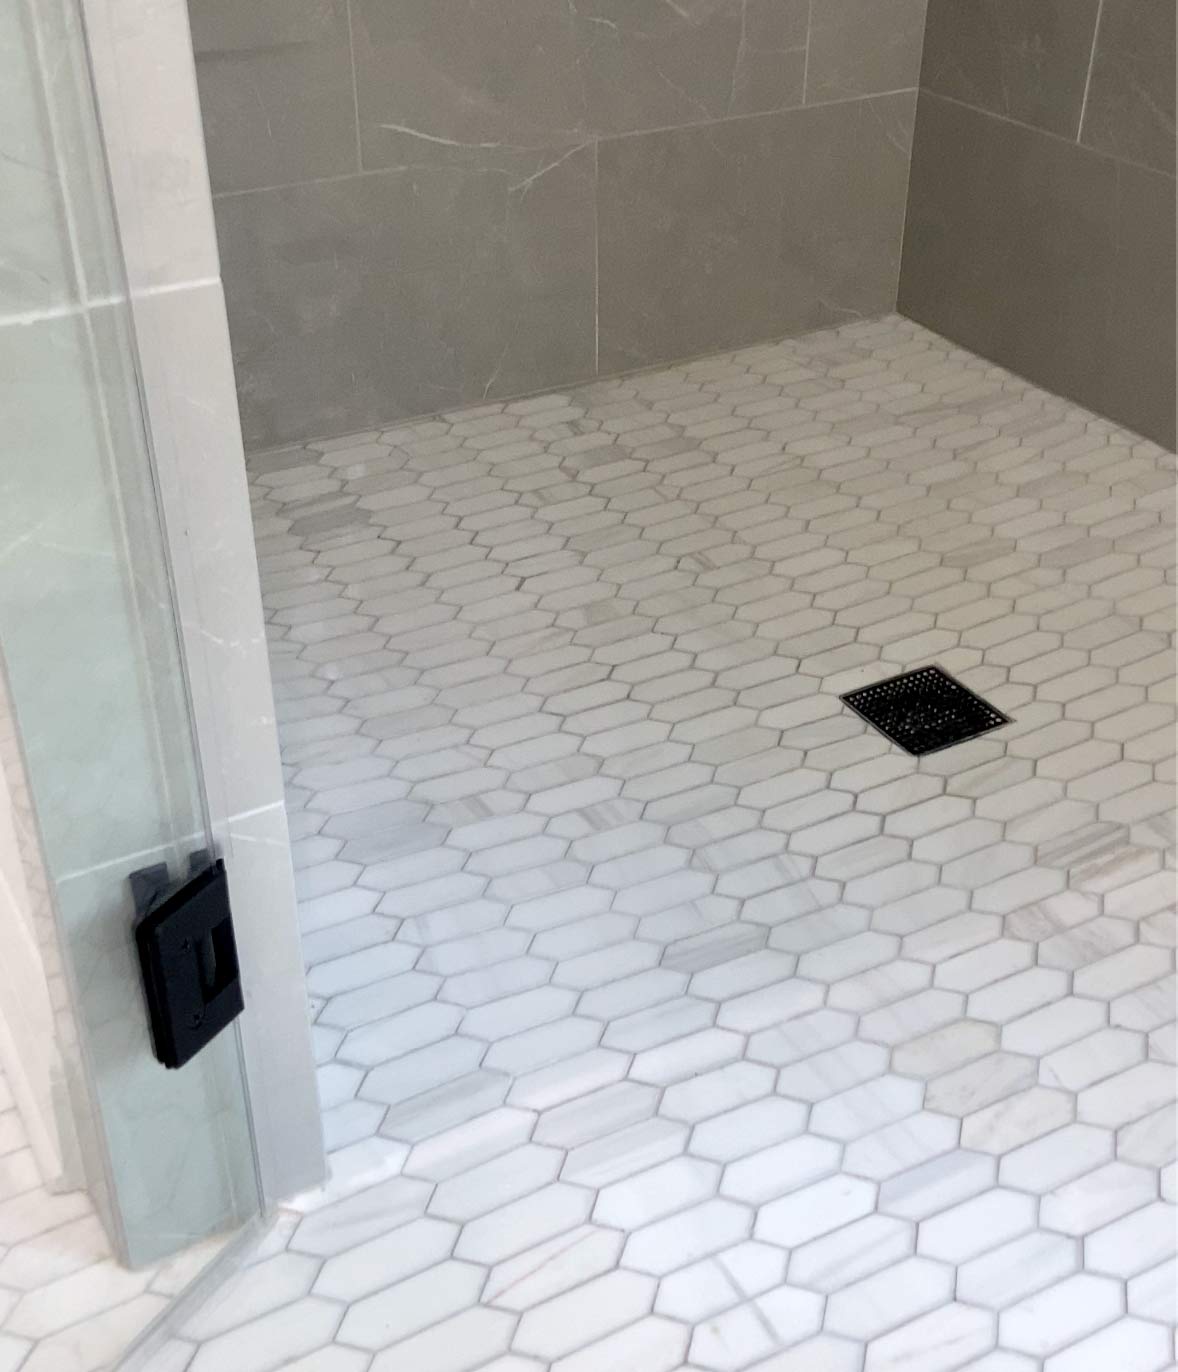
But one thing to note: I did have to back butter the tile around the perimeter to create a slope away from the walls.


9 Comments
Stunning work! Would you be able to share information on grey tile used in the shower?
June 27, 2022 at 2:21 amWhat brand of waterproofing tape did you use?!
July 9, 2022 at 3:20 pmIt’s Schluter.
July 9, 2022 at 5:29 pmWhat type of tile on the floor and wall did you use?
July 10, 2022 at 1:57 pmWhat type of shower door did you use
July 13, 2022 at 9:27 pmIt’s glass fabricated locally.
July 14, 2022 at 7:38 pmSchluter recommends unmodified thinset to adhere their products, is Tank-10 adequate to provide failproof adhesion?
July 14, 2022 at 6:24 pmAbsolutely
July 14, 2022 at 7:38 pmWhat tile is this? Name and color? Thanks!
December 28, 2022 at 8:05 pm